Practical Education: Domain Settings, SIEM Combination, and Attack Telemetry
Active Directory
Home Lab Project
Exploring Active Directory
A database and collection of services called Active Directory (AD) link users to the network resources they require to complete their tasks. Important details about your environment are contained in the database (or directory), such as the number of computers and users as well as the permissions granted to each.Microsoft created Active Directory (AD) as a directory service for Windows domain networks. Administrators can control access and permissions to network resources, and it maintains and archives data about those resources. AD is essential to network efficiency and security because it streamlines resource management by arranging user data, devices, and applications into a hierarchical structure.
Purpose and Benefits
Its main goal is to give network administrators an organized and safe method of managing computers, users, and other resources. AD offers several advantages, such as easier control over user accounts and permissions, centralized control and policy-based security, faster network resource access, and better network efficiency and organization. Additionally, AD makes scalability possible, enabling networks to expand without requiring major adjustments to the current infrastructure.
Active Directory: My Hands-On Exploration
The purpose of the Active Directory Home Lab Project is to give users real-world, hands-on experience configuring and maintaining a domain environment. This project gives you the ability to collect and analyze attack data, comprehend and use Security Information and Event Management (SIEM) systems, and obtain important insights into network security by combining technologies such as Splunk, Kali Linux, and Atomic Red Team. Using a holistic strategy that enhances my knowledge and abilities in a safe, instructional environment, it better equips me to tackle cybersecurity concerns in the real world.
An overview of the Tasks
- Build a logical Diagram
- Install Virtual Machines
- Install & configure Software
- Configure Active Directory
- Generate Telemetry w/kali & ART
Task 1: Creating a Logical Diagram
For cybersecurity initiatives, drawing a diagram is essential because it gives a clear visual depiction of the network’s architecture and makes it easier to understand how various parts function together. This visualization guarantees that all team members and stakeholders have a common knowledge of the setup, which is crucial for good communication. Diagrams are also very useful tools for troubleshooting because they make it easy to quickly identify possible problems or weaknesses. They also function as important records, supporting upcoming adjustments, adherence, and examinations. Professionals can more effectively develop defensive methods, evaluate security postures, and improve team cooperation by utilizing diagrams.
Comprehensive Active Directory Network Diagram

The project involves setting up a controlled environment for cybersecurity analysis. In this setup, I have two primary machines:
- Kali Linux: This machine serves as the attacker, simulating potential security threats and penetration tests.
- Windows 10: This system acts as the target user, equipped with a Splunk Universal Forwarder, Sysmon, and Atomic Red Team to generate and forward security logs.
These machines are integrated into a broader network infrastructure that includes:
- Splunk Server: Centralized log collection and analysis hub, receiving data from both the Windows 10 machine and the Active Directory.
- Active Directory: Configured with Sysmon to monitor and log activities within the domain environment.
- Network Infrastructure: The systems are connected through a switch, with routing provided by a connected router that links the lab environment to the internet.
This setup allows for a comprehensive exploration of security event monitoring, attack detection, and incident response, providing practical insights into the workings of domain environments and security information and event management (SIEM) tools like Splunk.
Task 2: Install Virtual Machines
We will be installing the following virtual machines:
- Windows 10
- Kali linux
- Ubuntu Server (Splunk)
- Windows Server 2022
We will begin by installing Virtual Box
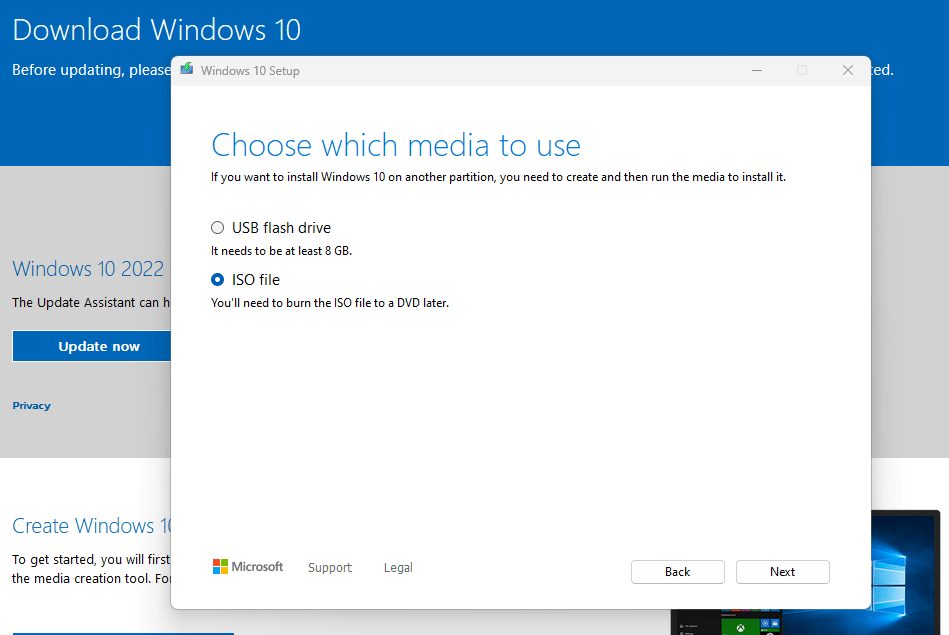
Next we would download the Windows Media ISO in order to download the windows 10 Iso
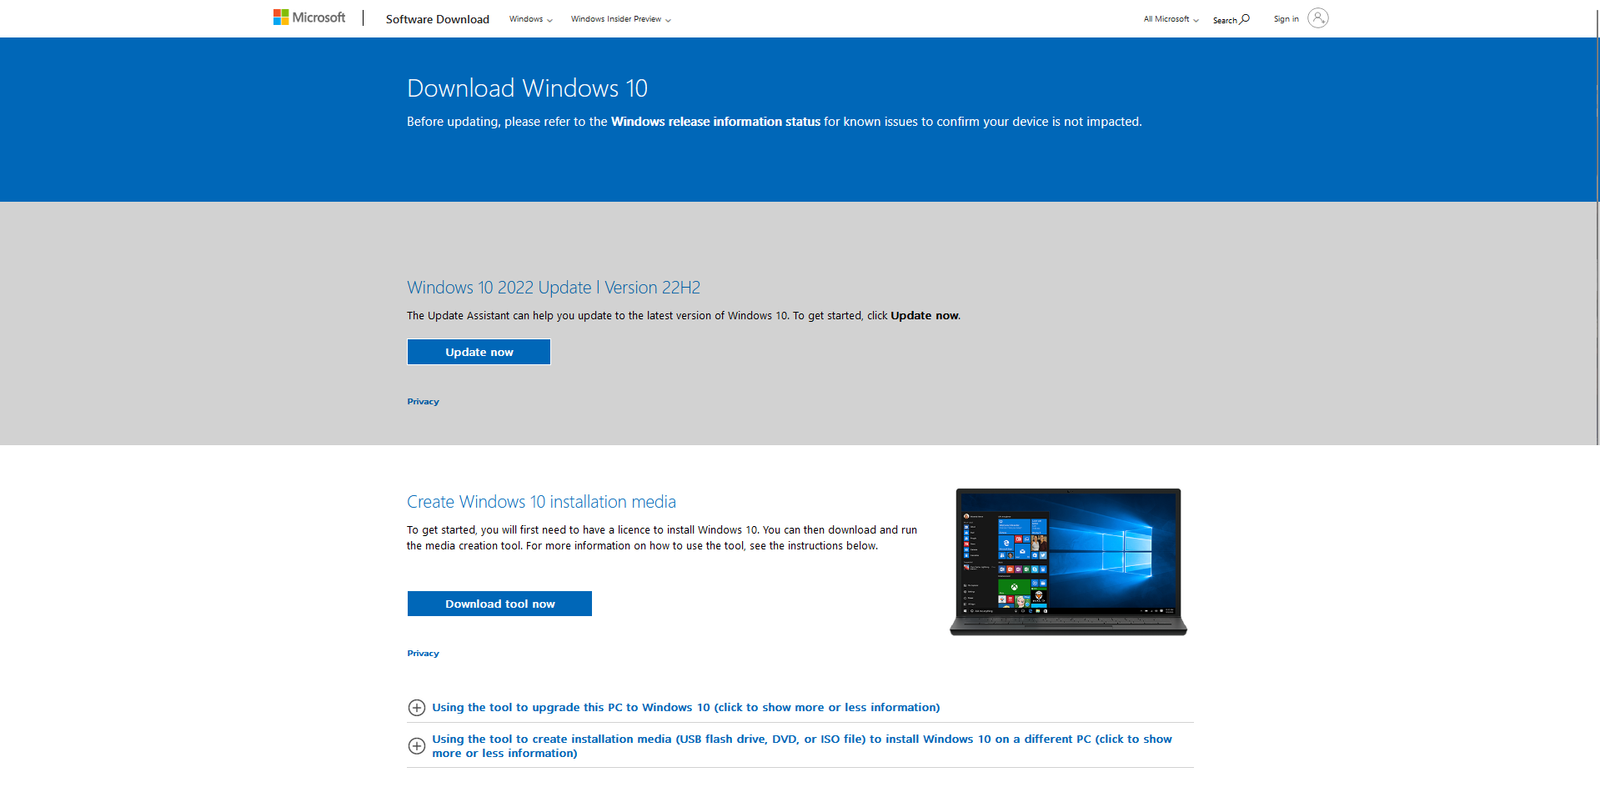
Currently configuring the iso file settings in order to download the iso
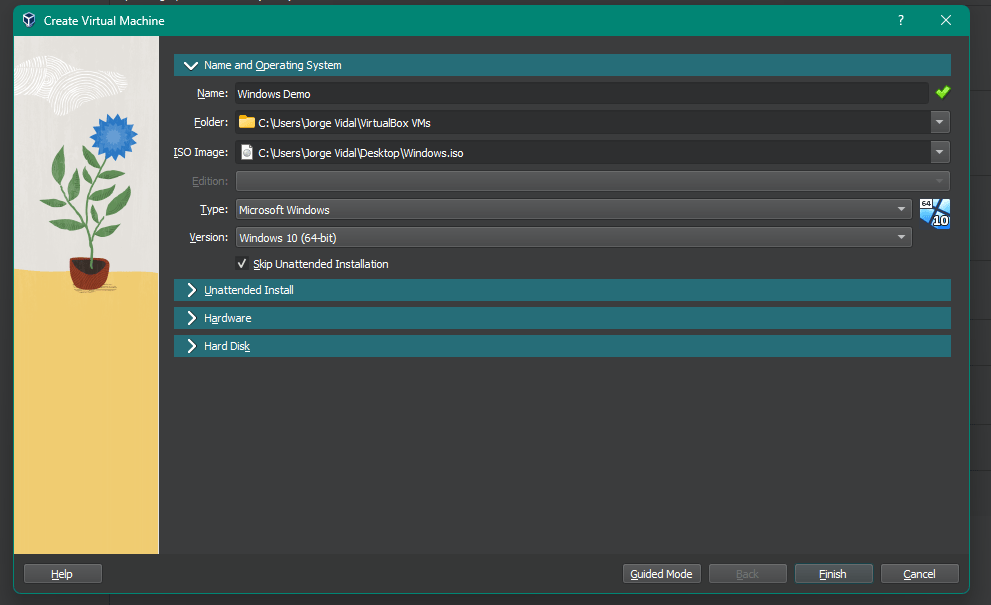
Next we will open up Virtual box and create a new virutal machine using the windows 10 iso
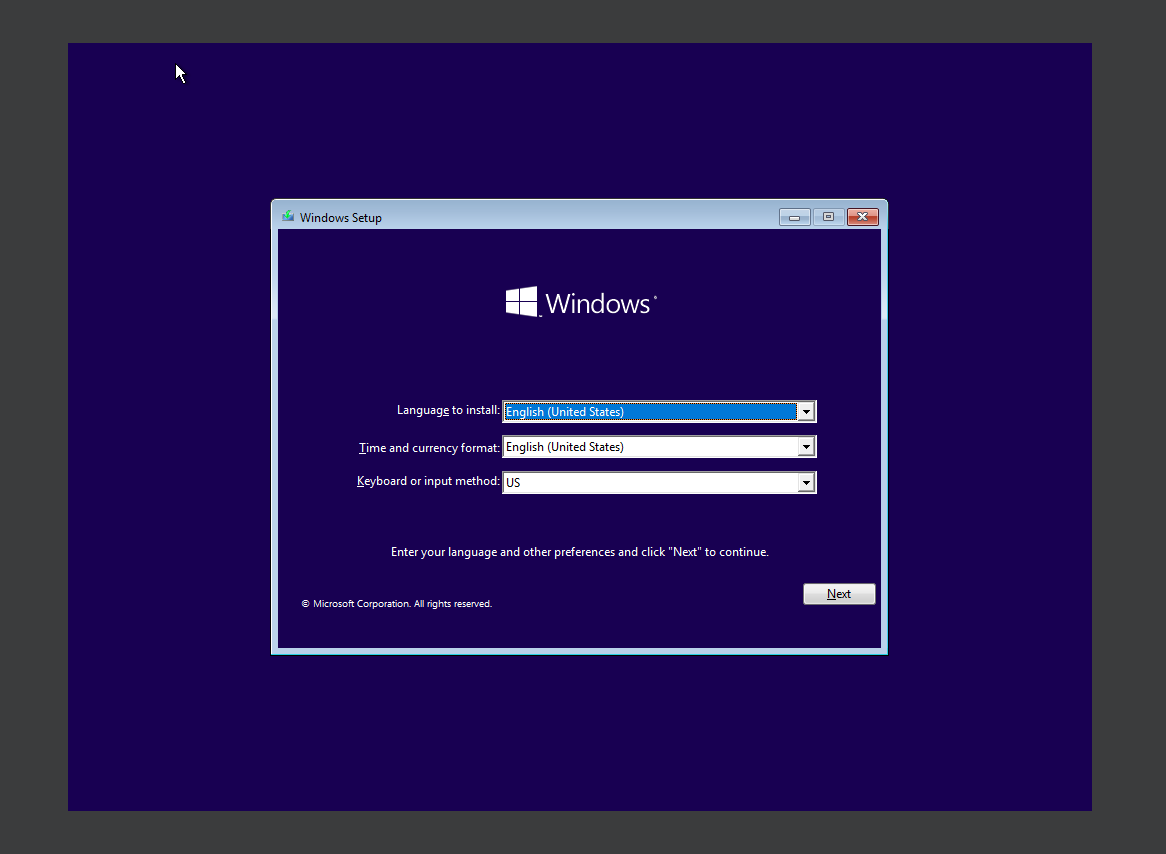
Now we would then Complete the installation and run windows 10 and configure its settings while running.
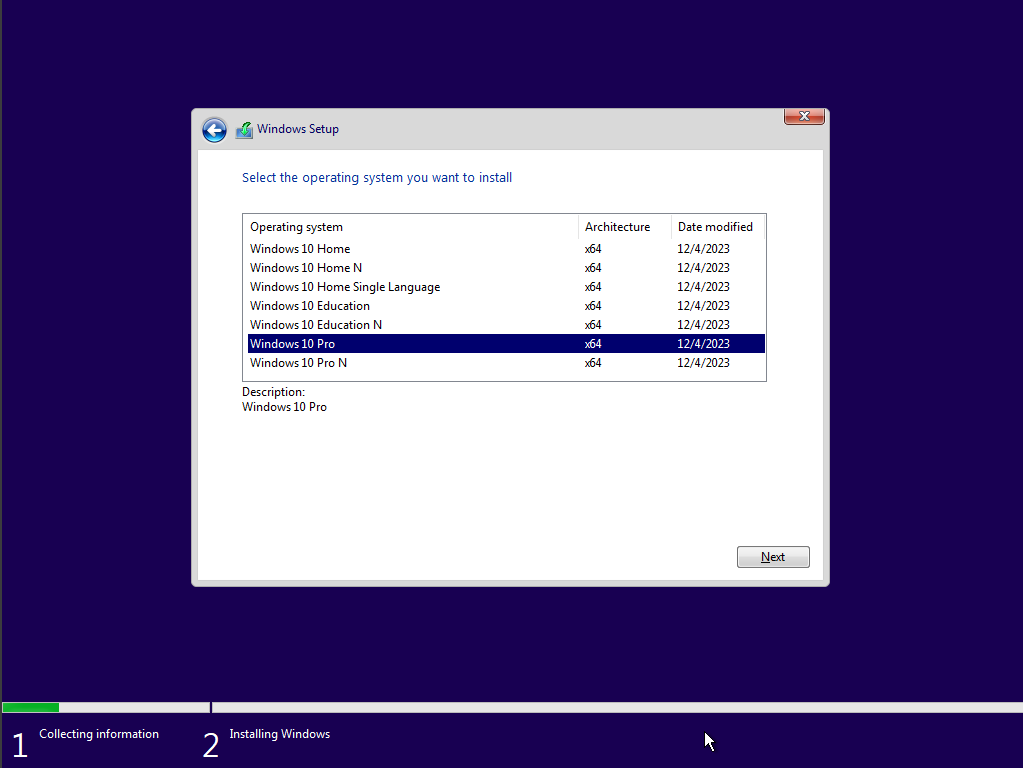
I would be going with using windows 10 pro for this project.
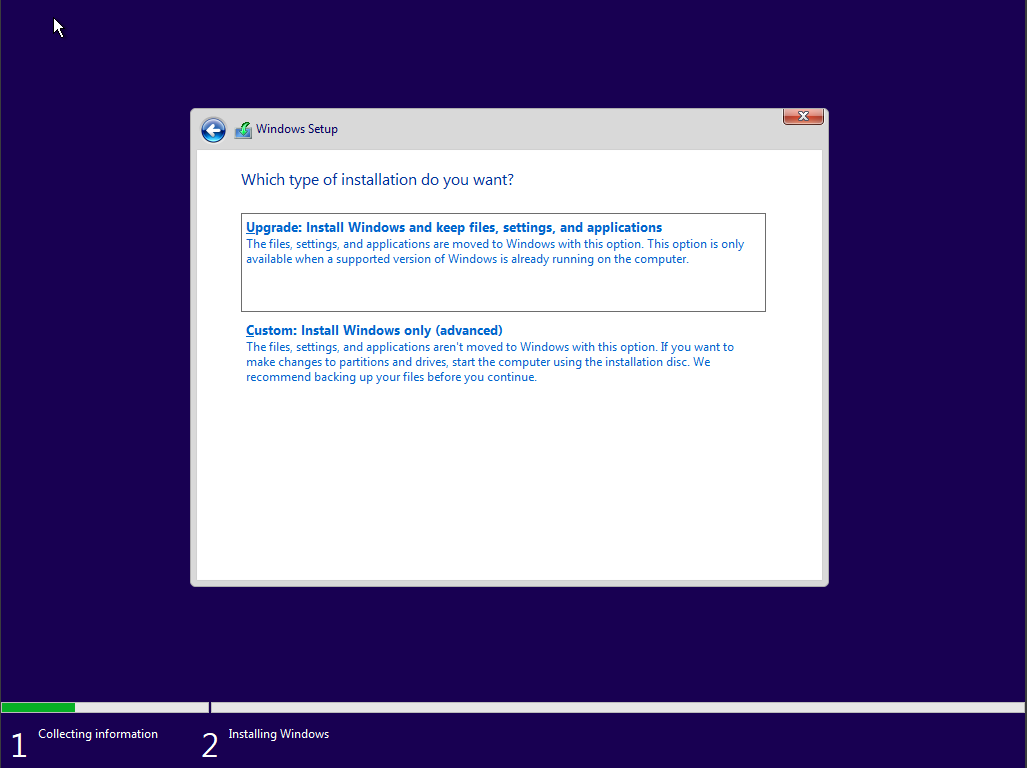
I would then proceed with custom settings install windows only option.
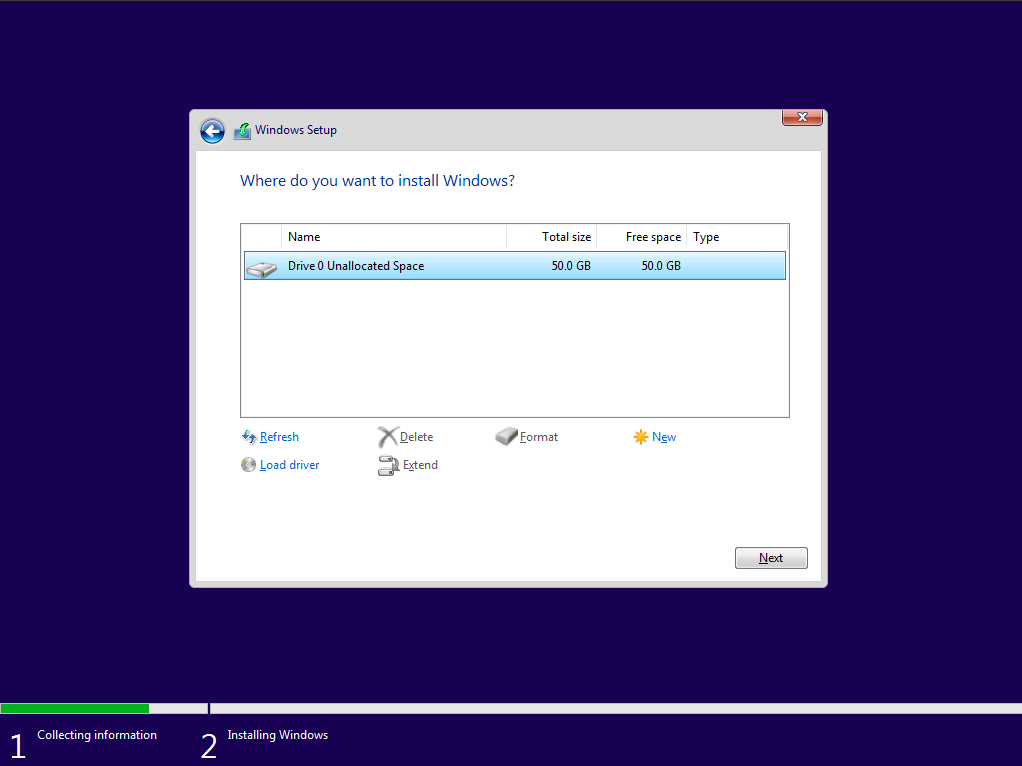
I would then select the selected drive 0 to install windows 10.
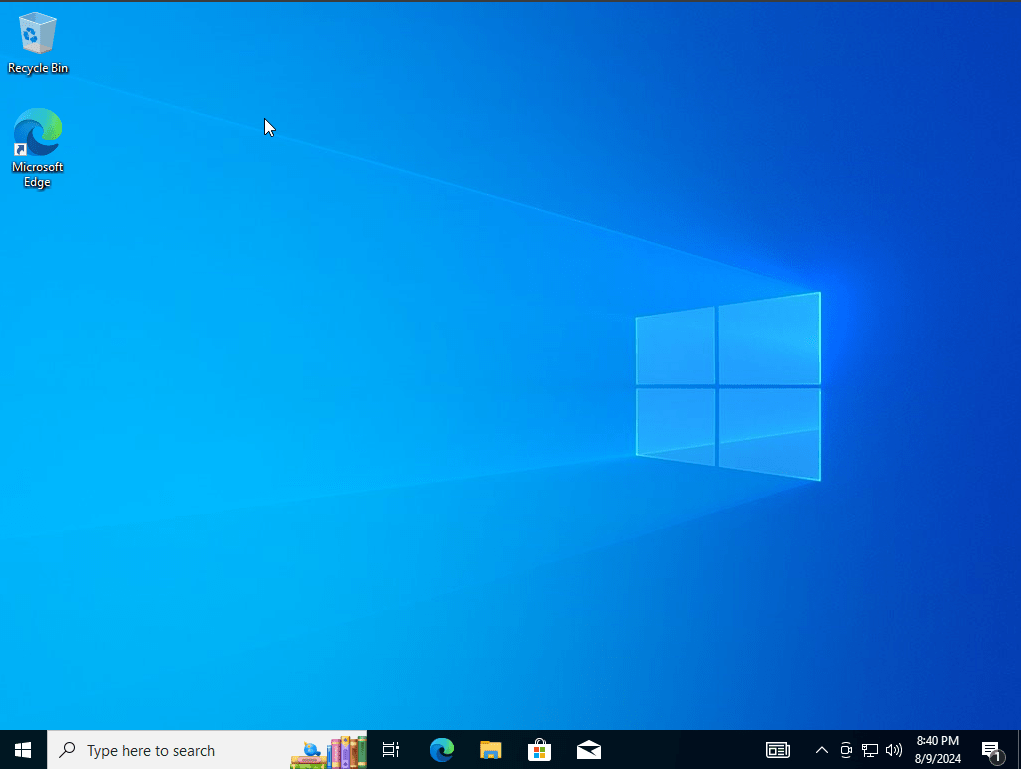
The windows 10 pro machine completed its update configurations.
We would head on and go over into downloading kali linux.
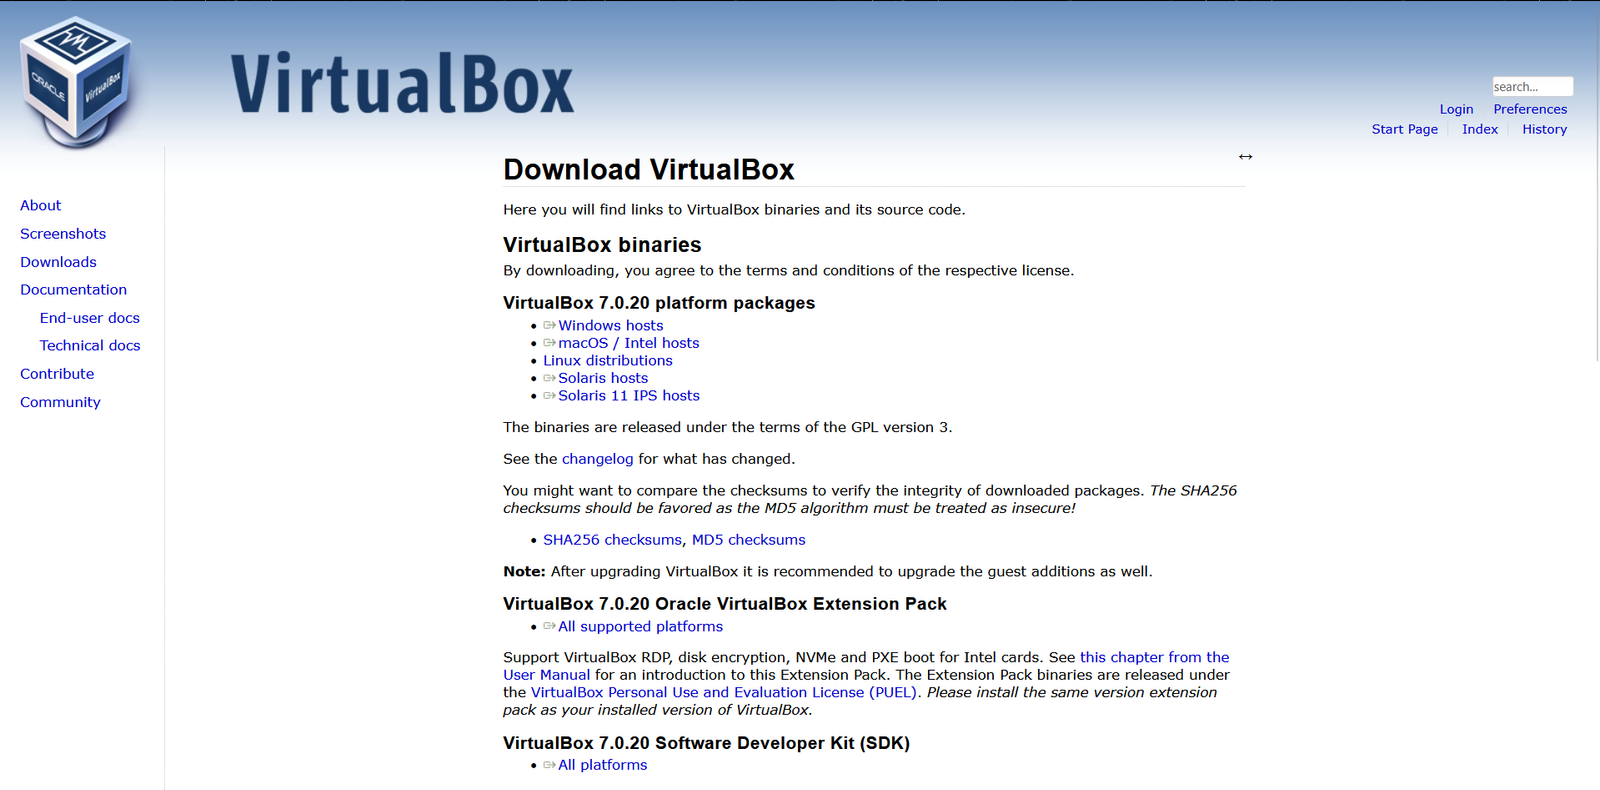
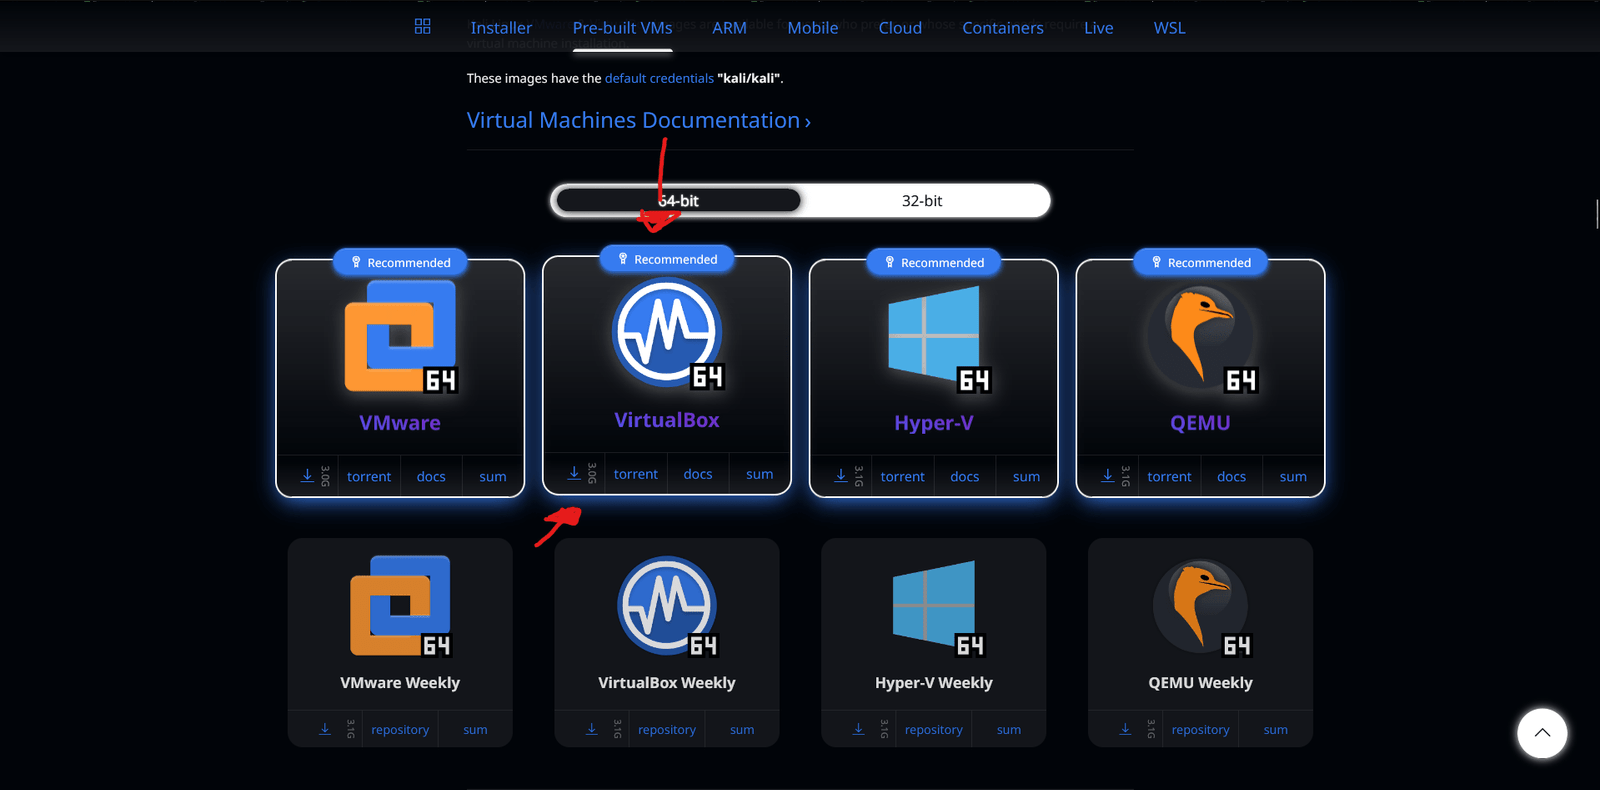
I would then select the virtual machine version of kali linux and download the virtual box 64 bit version

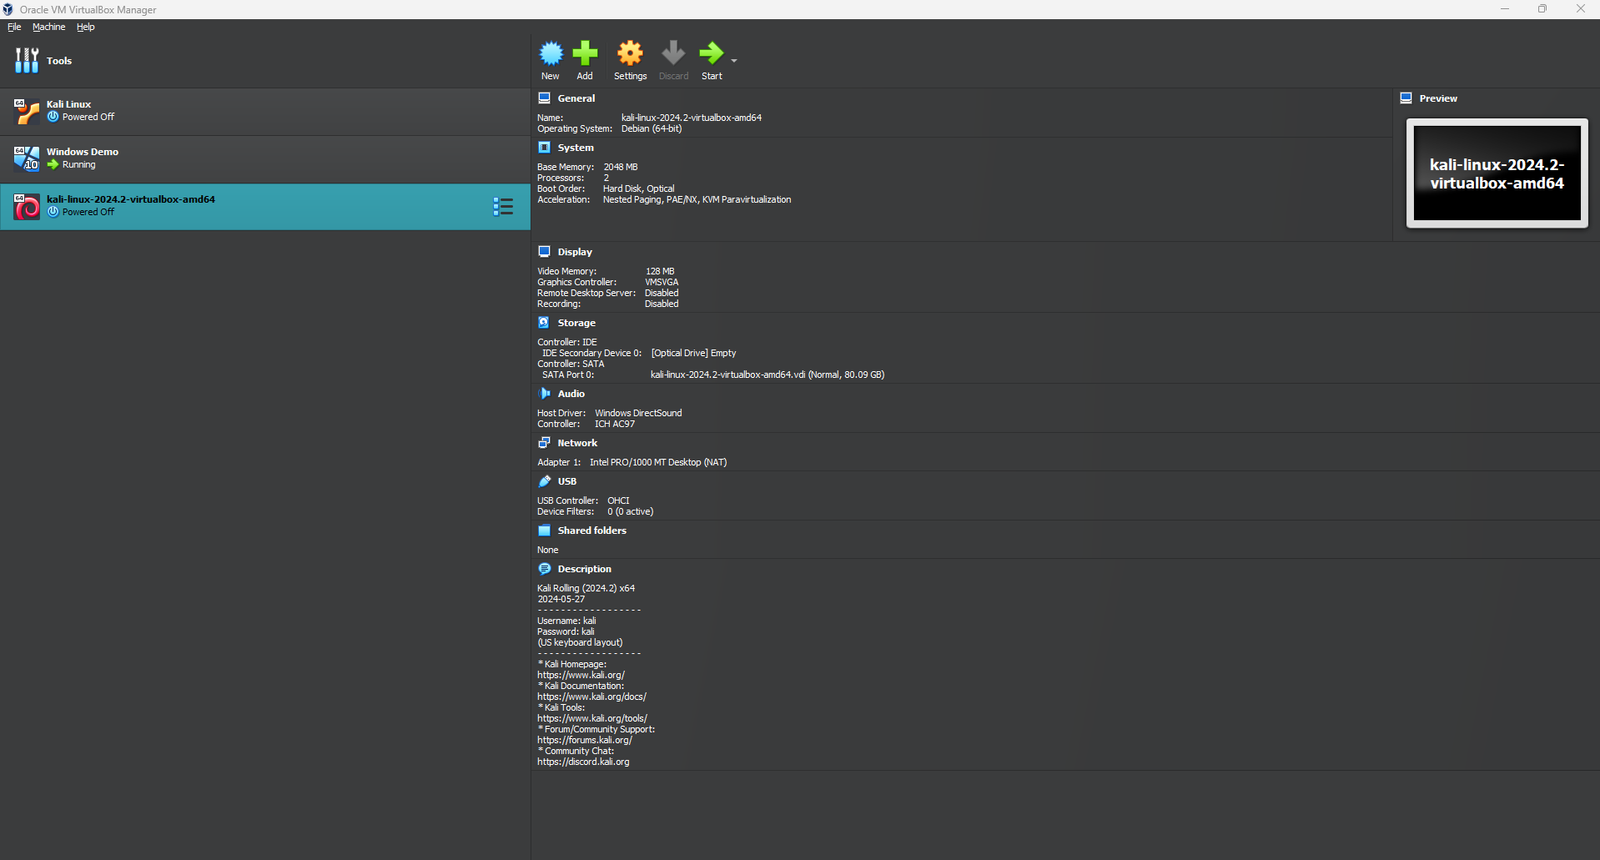
Upon finish downloading I would then extract the kali linux file and then click on the vbox extension. so it would automatically boot up the virtual machine onto virutalbox.

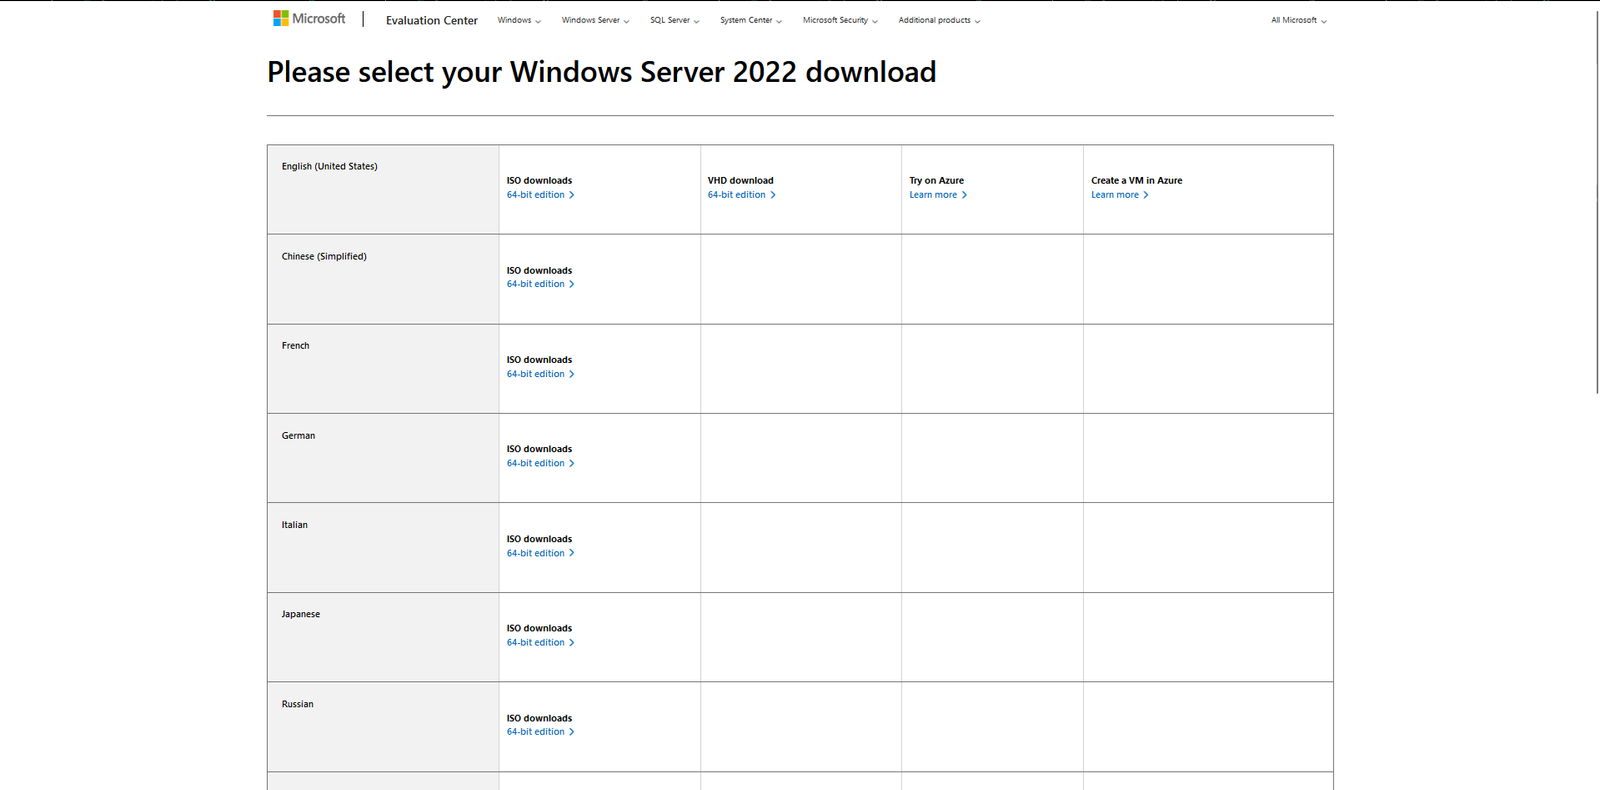
Upon waiting for the windows Iso to boot up we will go ahead and download the windows server 2022 iso file.
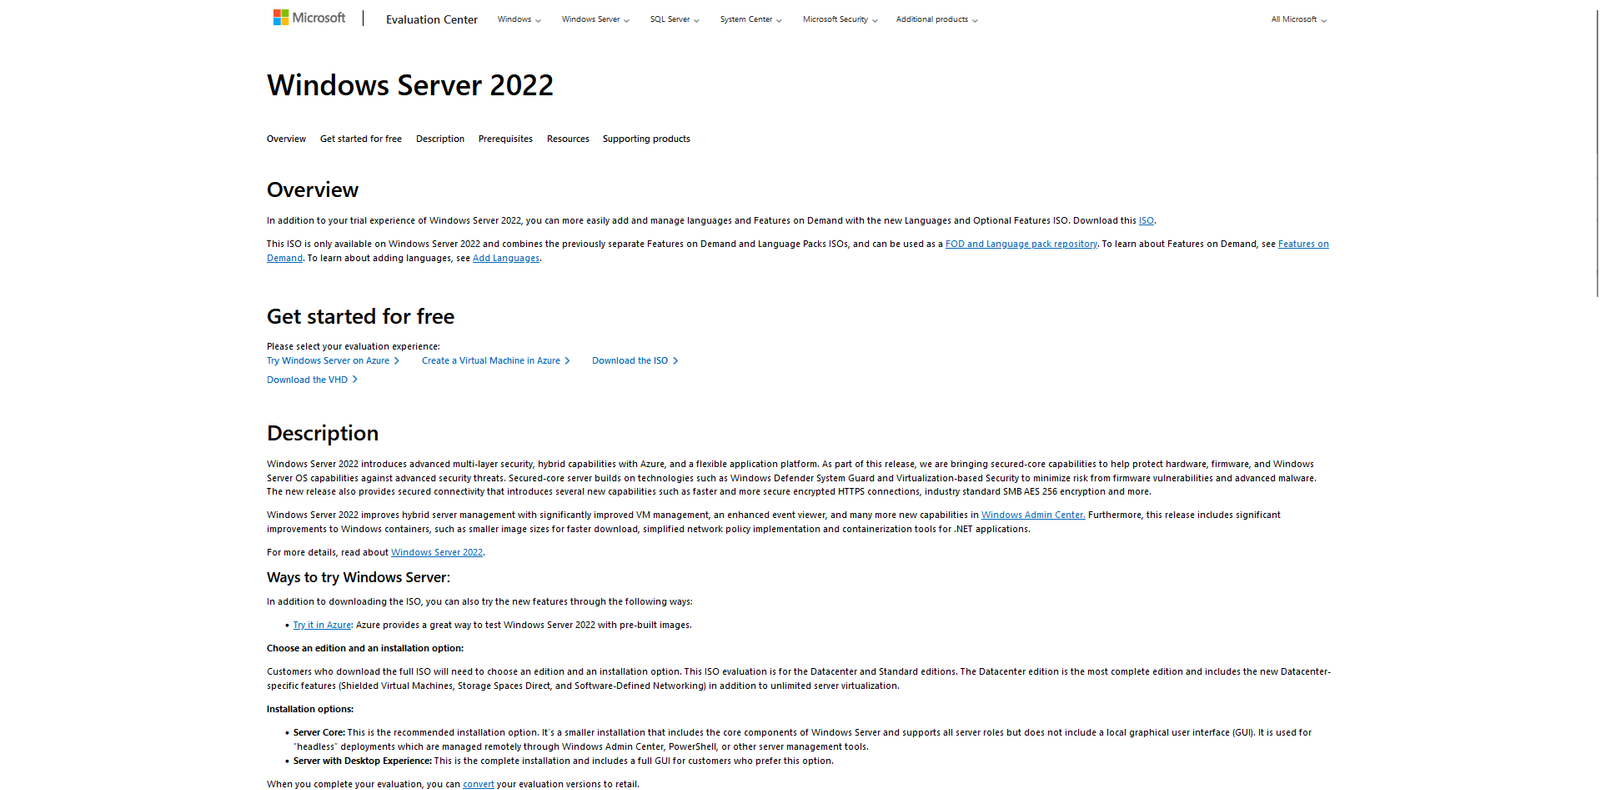
I would select the iso download 64 bit edition English
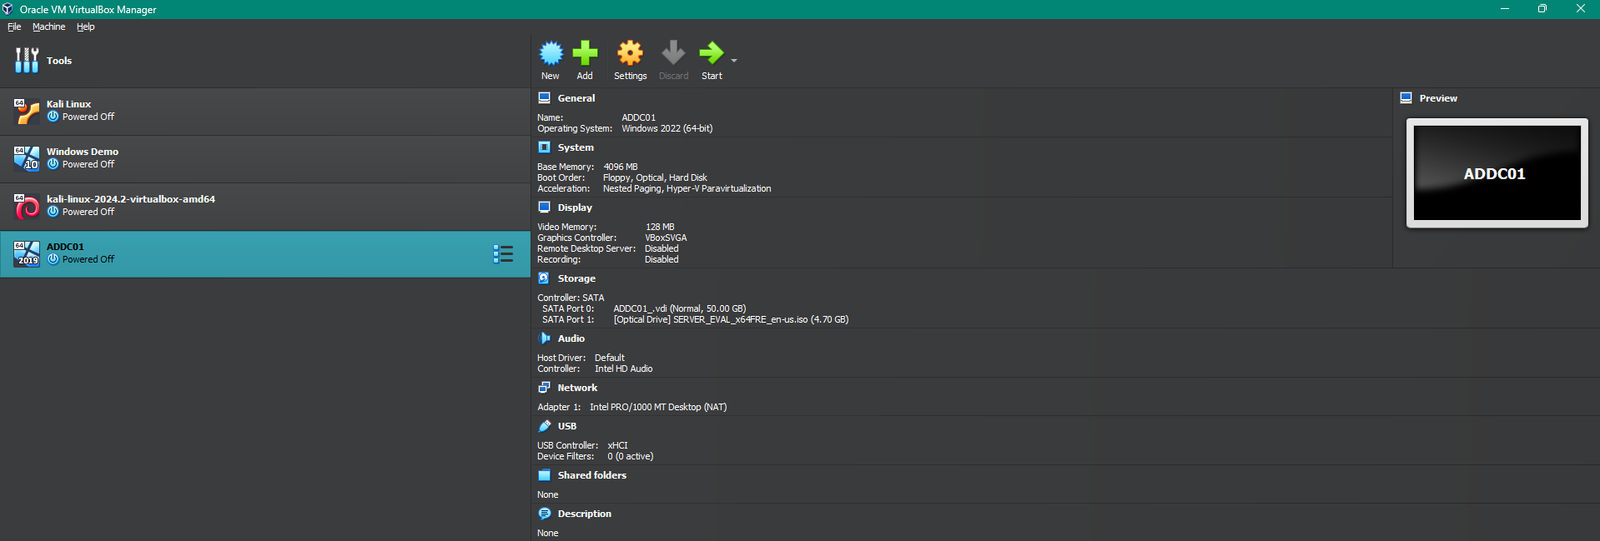
I would then open virtual box and create a new virtual environment for windows server 2022.
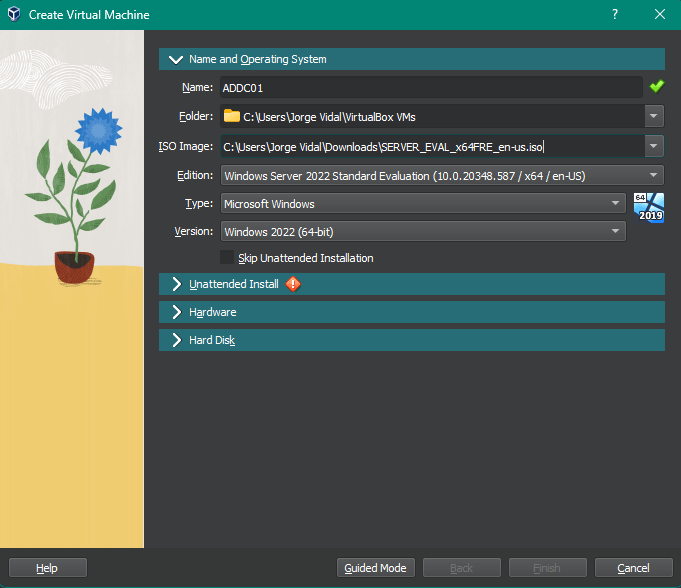
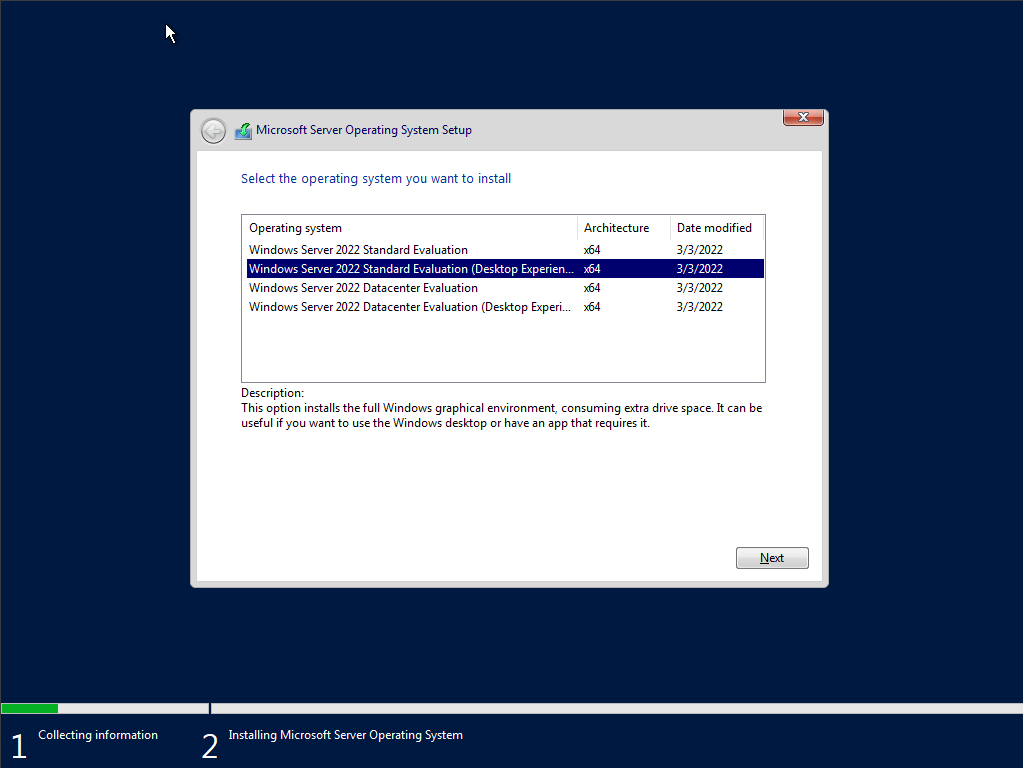
I would be selecting the second option here which would be Windows Server 2022 standard evaluation
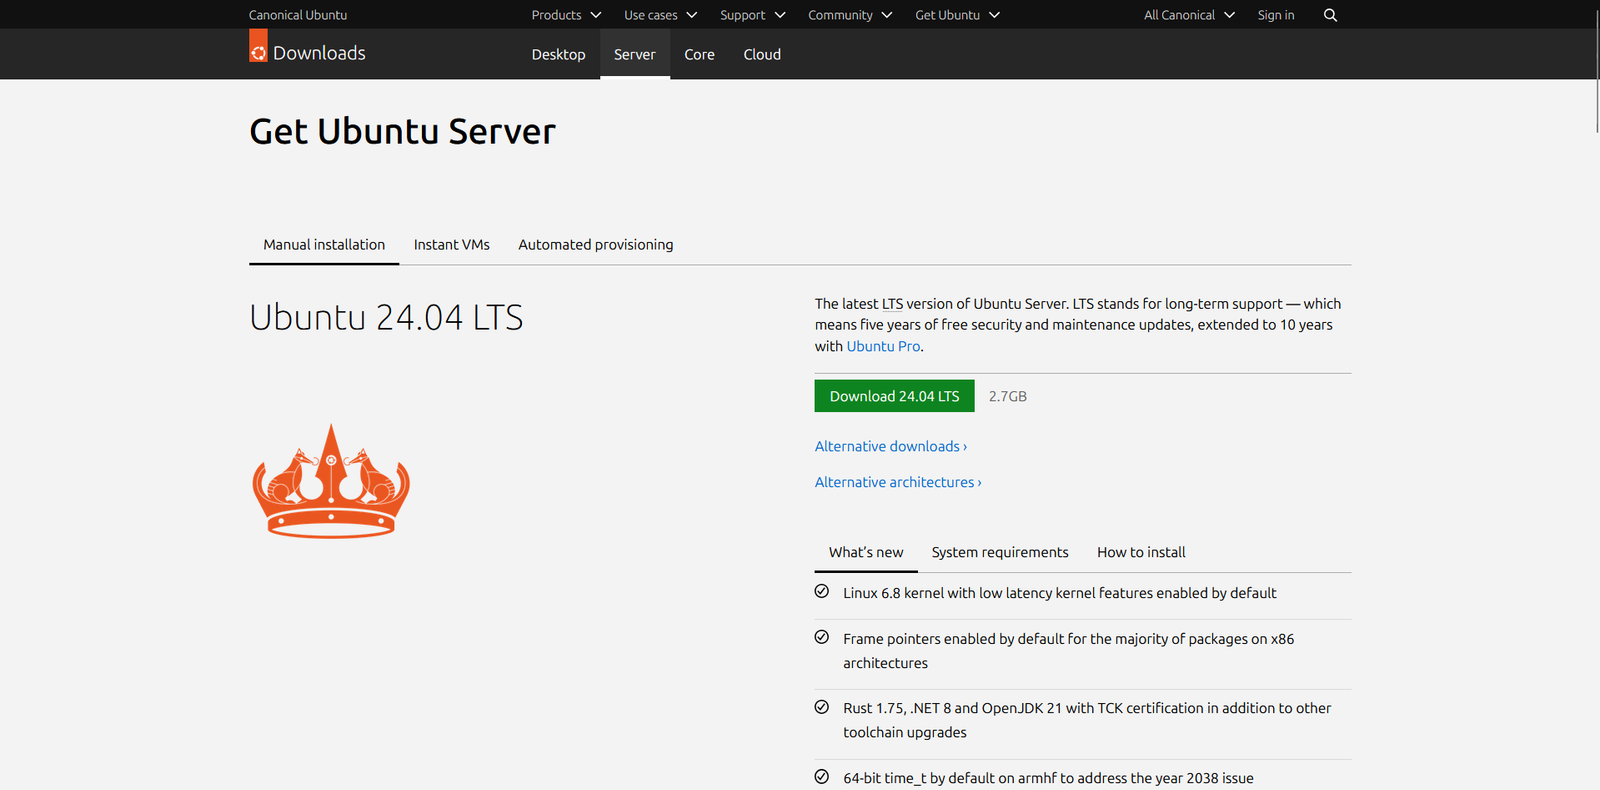
While that is downloading we would then head on over to download our Ubuntu (Splunk) Sever, we would head on into the Ubuntu download page and hit on products and select Server and click on the download button to begin the download process.
Windows Server 2022 has finished its configuration.
I would then create a new virtual machine in virtual box this create a machine for Ubuntu my Splunk Server.
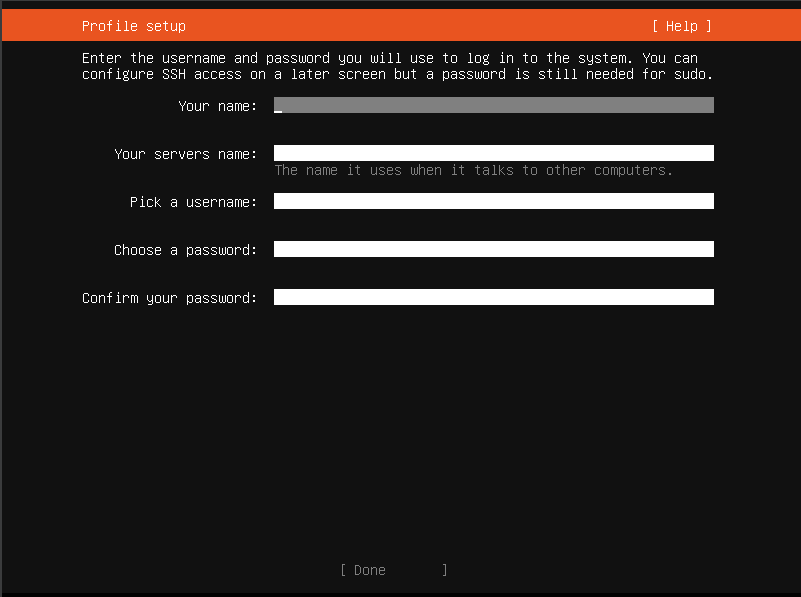
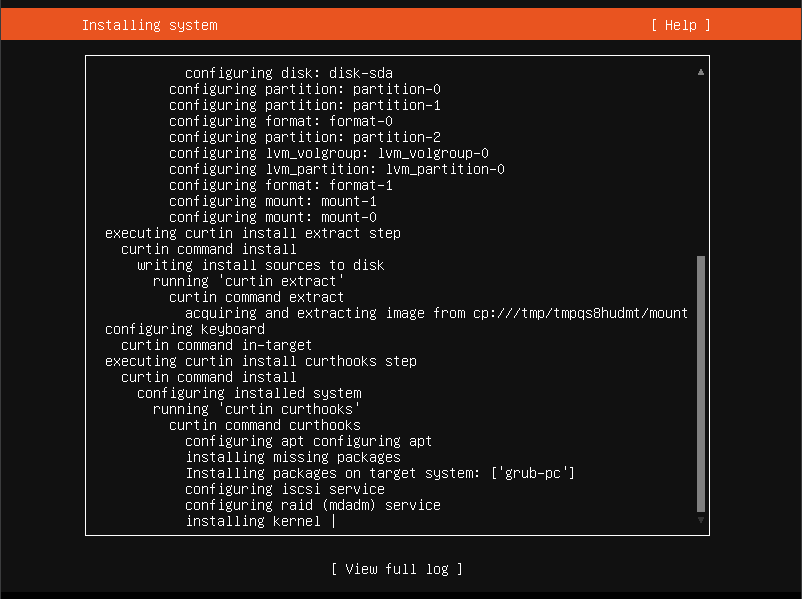
I have successfully installed and upgraded my Ubuntu (Splunk) Server.

Task 3: Install Configure Sysmon & Splunk
For this part of the project, we will install and configure into our windows target machine and windows server. This way we are able to send telemetry and be able to send logs.
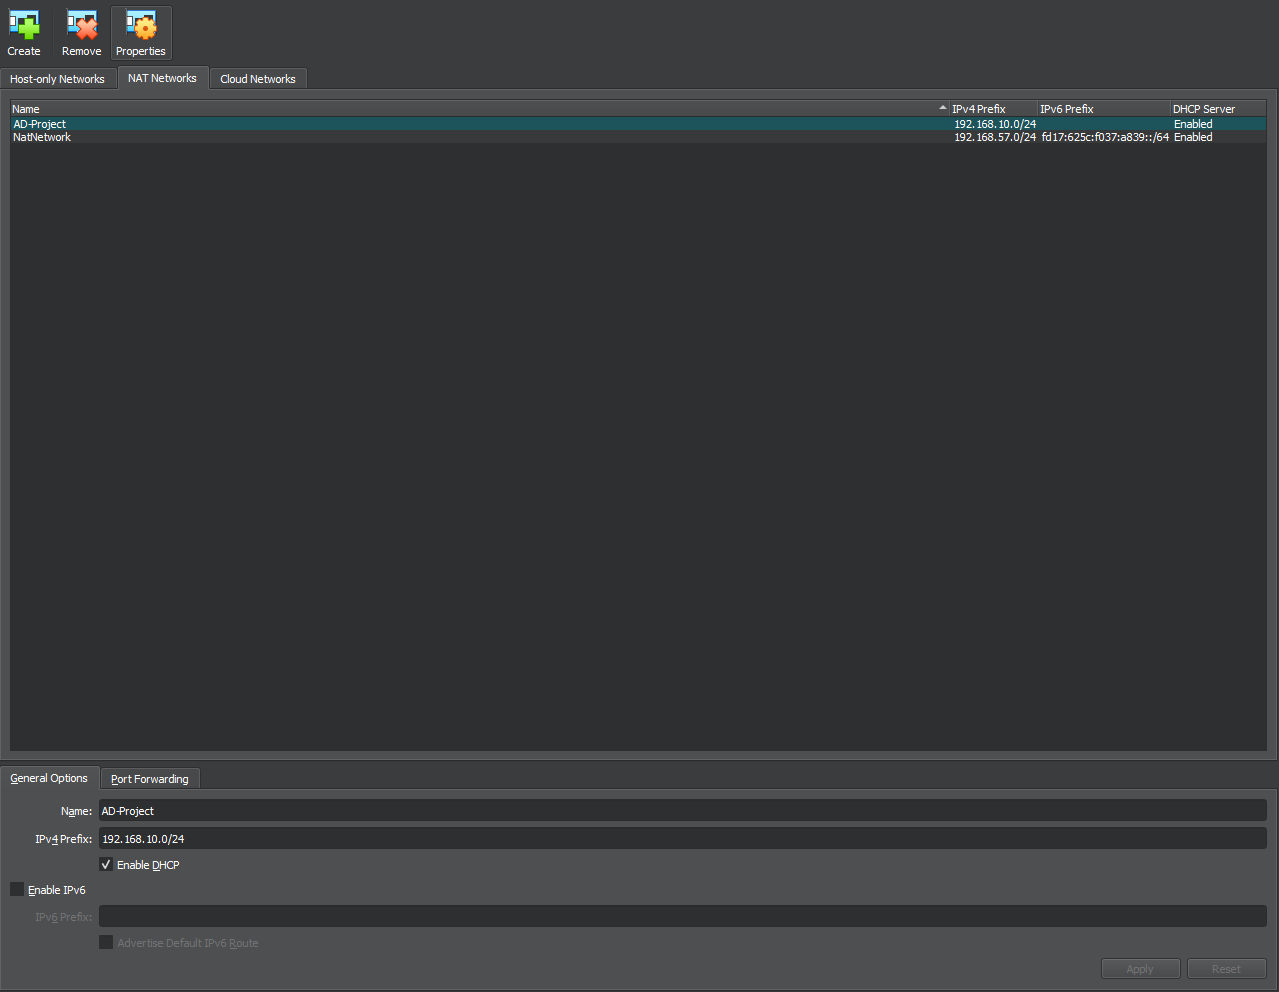
To being we will head on over to our virtual box and make sure our network settings are set to NAT, this way our virtual machines are connected to the same network and still have internet access for the log analysis up ahead.
I begin by heading over to tools on virtual box and create a new Nat Network, by hitting the create button, next I added the IPv4 prefix that is necessary for the lab which is 192.168.10/24 and named it AD-Project
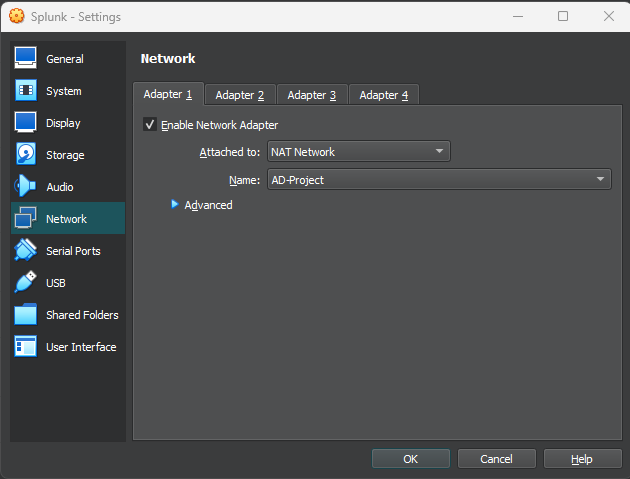
Next we would head to each virtual machine and select on the new NAT network setting we just created.
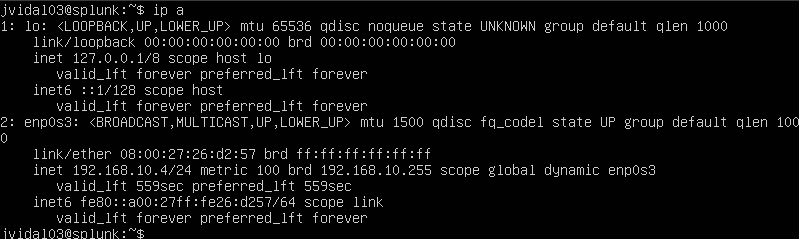
We will begin by running splunk and notice that when we run the ip a command we notice that the ip is different from the ip we intially mention with our write up diagram, so that would mean we would need to set up a new static IP, to do so we would running the following command.
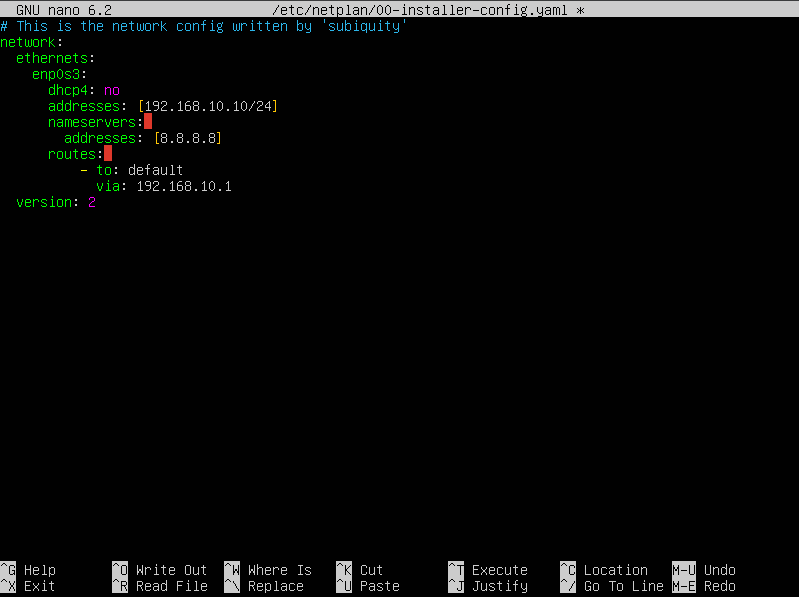
sudo nano /etc/netplan/00-installer-config.yami
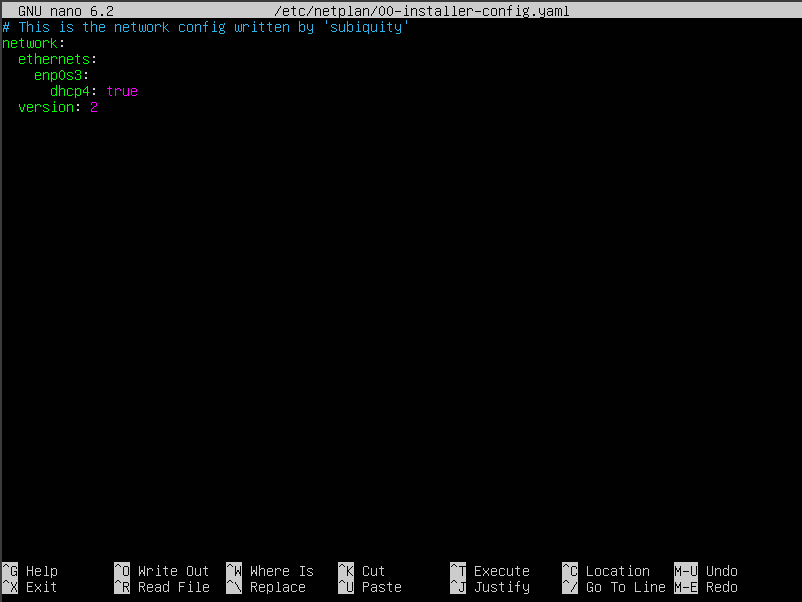
We begin by adding some changes to the default settings.
- First we shall change the DHCP settings to no from true. indicating that we don’t want any dhcp.
- I would then add a new line and this time type addresses, and enter in the the new ip address.
- Next I would add a new line which this time would say name servers, add another line, and this type add another addresses line and add the ip of 8.8.8.8 which is google DNS.
- Then created a new line and added route, because we want include a default route, and I did this by adding to: default into the line.
- After that line I would create another line called via and add the 192.168.10.1 ip address gateway and then save our data.
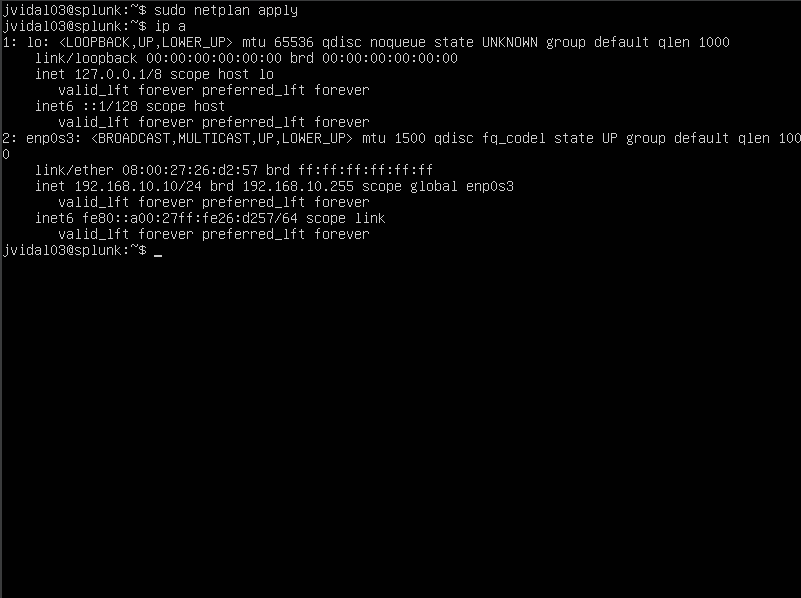
Now we can see the changes we have made have applied.
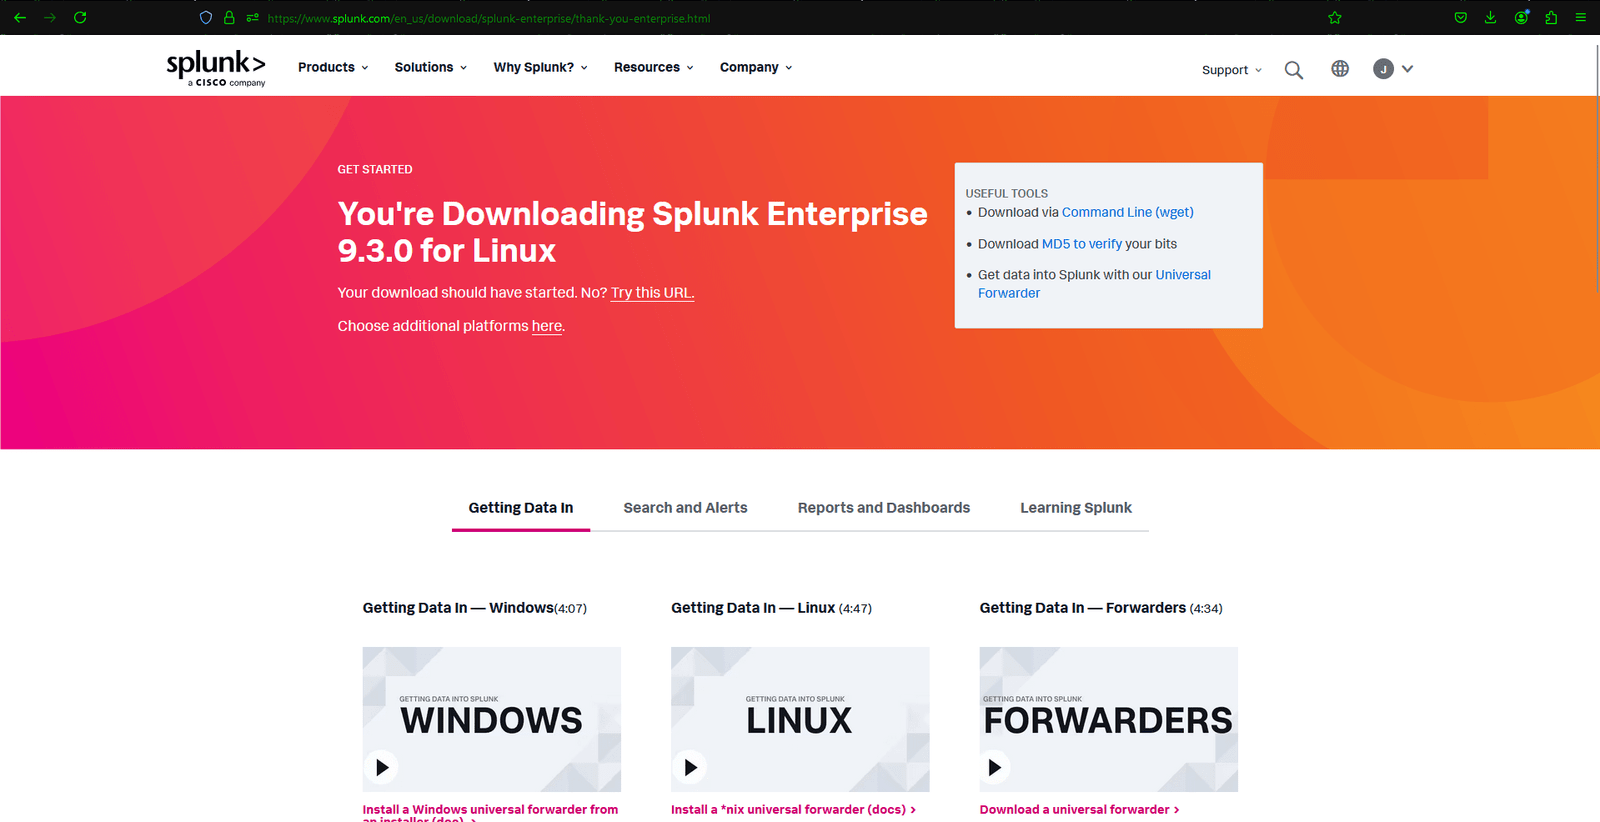
now that we go the ip address correct now its time to add splunk into the machine to do this we would head on over to splunks website and create an account. we do this by selecting product downloads and then select the format on which OS we would like to install Splunk in this case we would select Linux OS and select download.
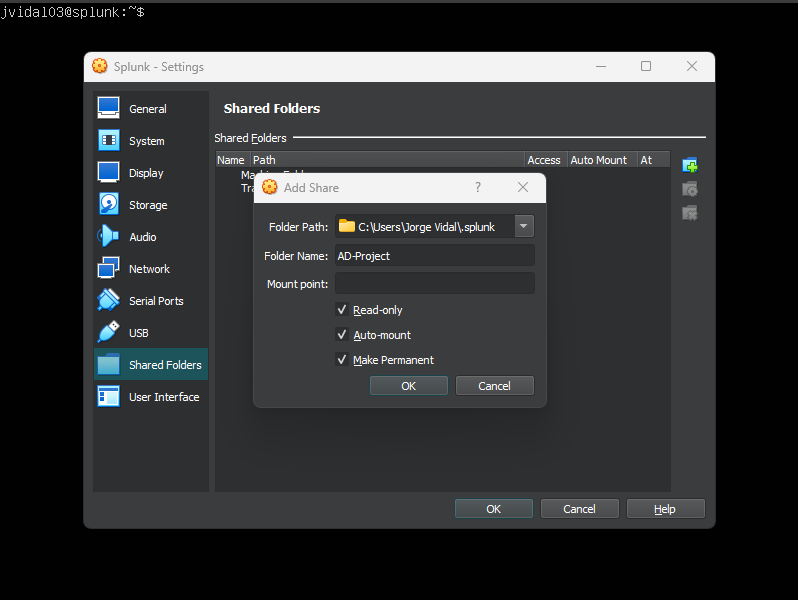
Next we would want to add on some additional add -on onto our virtual machine, in case the guest add ons in virutalbox. we would install the guest-additions-iso.
Once the update is complete we would then select on devices and click on shared folders from their create a new folder to add into our share settings.
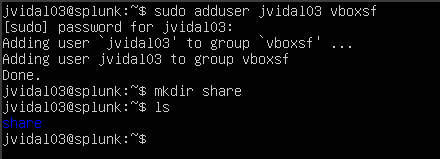
After that is done we would reboot the server and add a user into the server. to do this I executed the following command: “sudo adduser jvidal vboxsf”.
Next I would be creating a new directory called share.
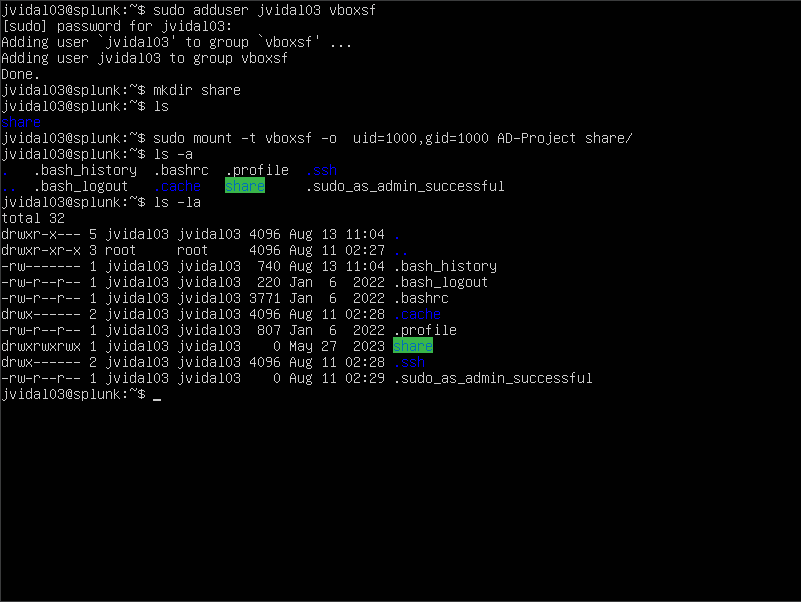
next we would want to mount our created folder onto our directory. To do this I executed the mount command.
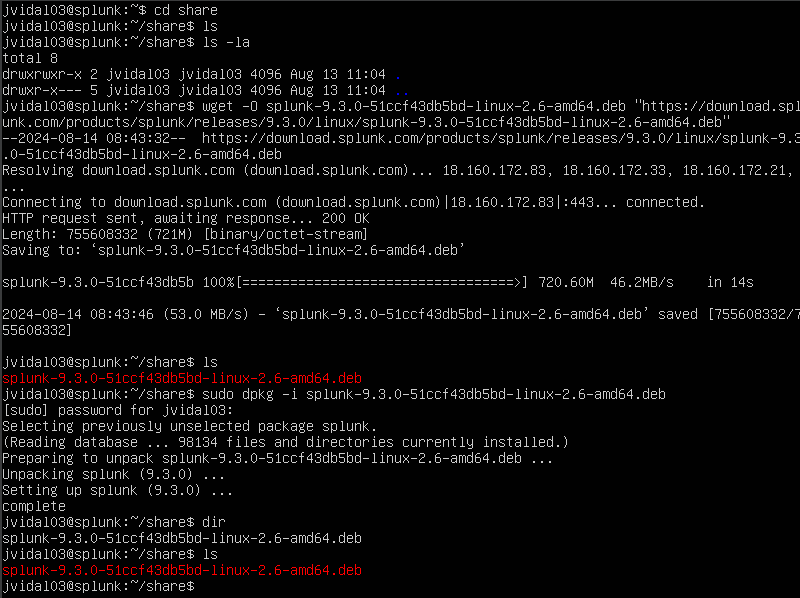
I would then now begin to download and upload Splunk onto my Ubuntu server.
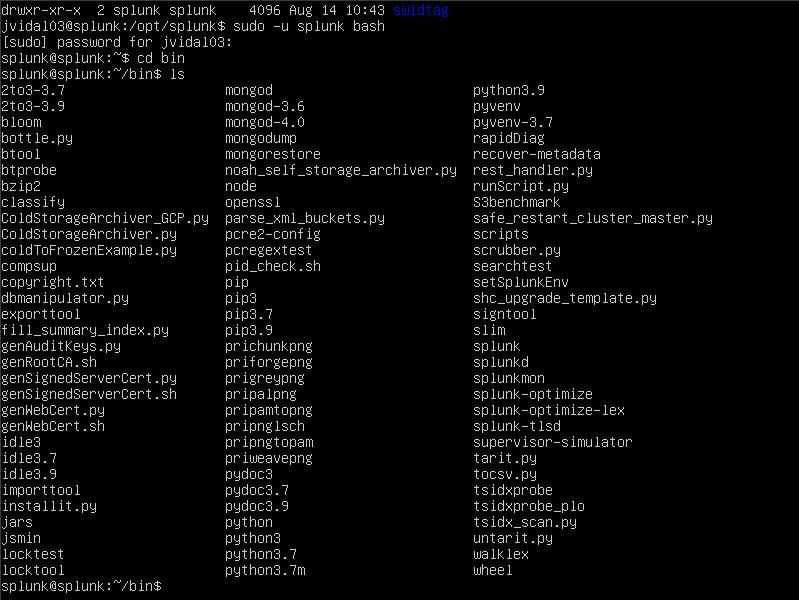
Once that is complete I would then begin to change directory to where our splunk server is currently in, to gain access I switch over to the /opt/splunk directory.
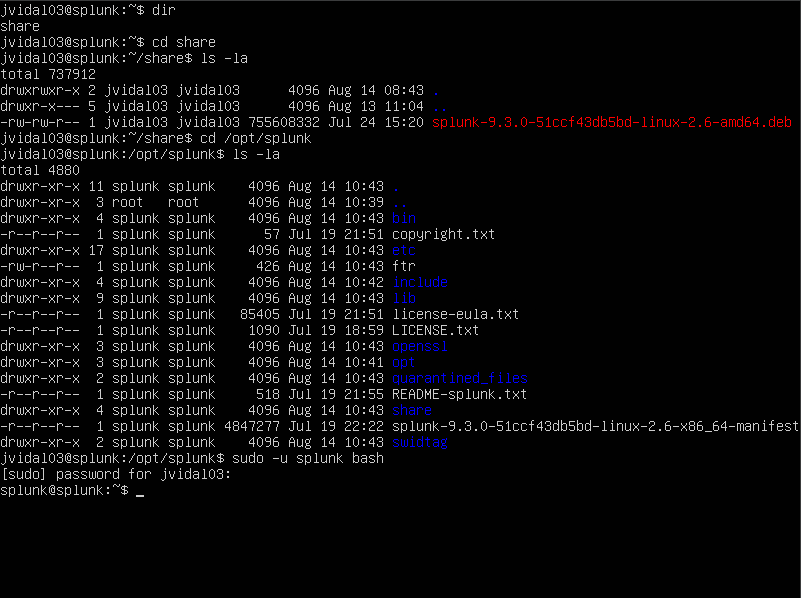
you should see that it is no longer my username but splunk instead which means we have successfully logged in. another thing I would like to point out are those splunk group read and write access which means that splunk is the complete owner of those files.
I would then switch over to the bin directory where most of the binary files are located.
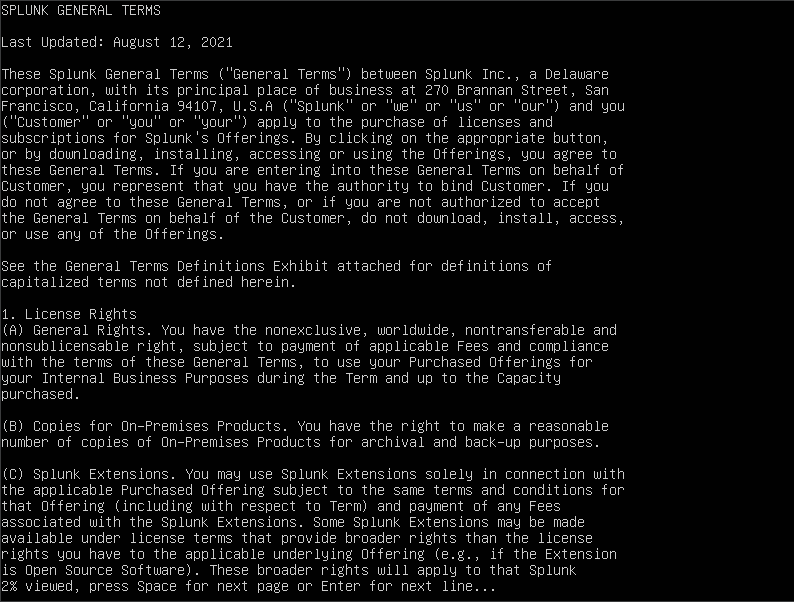
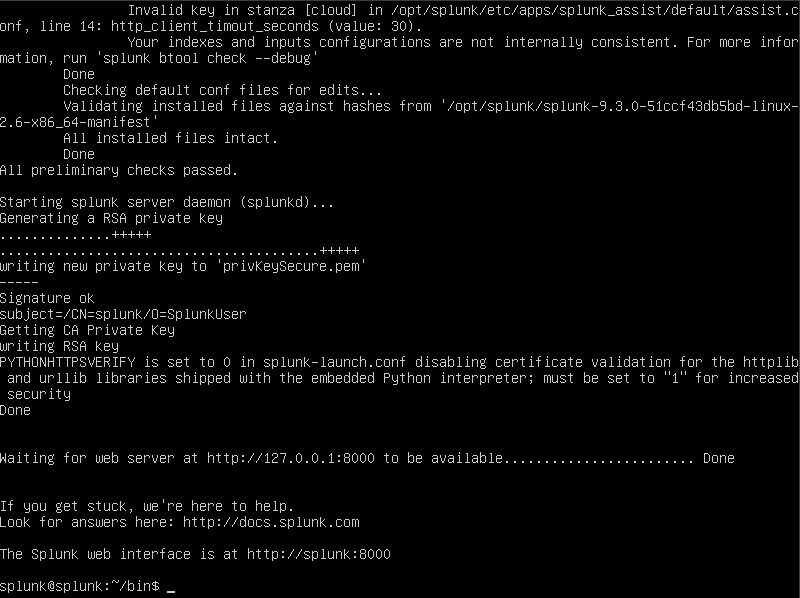
next I would then run splunk by running the ./splunk command and then greeted with the terms of agreements. I would click enter to proceed in creating a new administrator user.
I have successfully gain access to my administrator account
Next what i want to make sure is that every time i run Ubuntu Splunk would be the first thing it runs. I ran the following command.

Next we would move on onto our Target machine (Windows 10) and make some changes to it. so we would head over to cmd and check the current IP address and notice that it is different from our diagram we bought up before well we are going to change that.

we would do that by clicking on network icon and click on network settings from there change adapter options. Right click on the adapter and click on properties and double click on internet protocol version 4, add the following ip address and select a static ip which would be the google site ip.
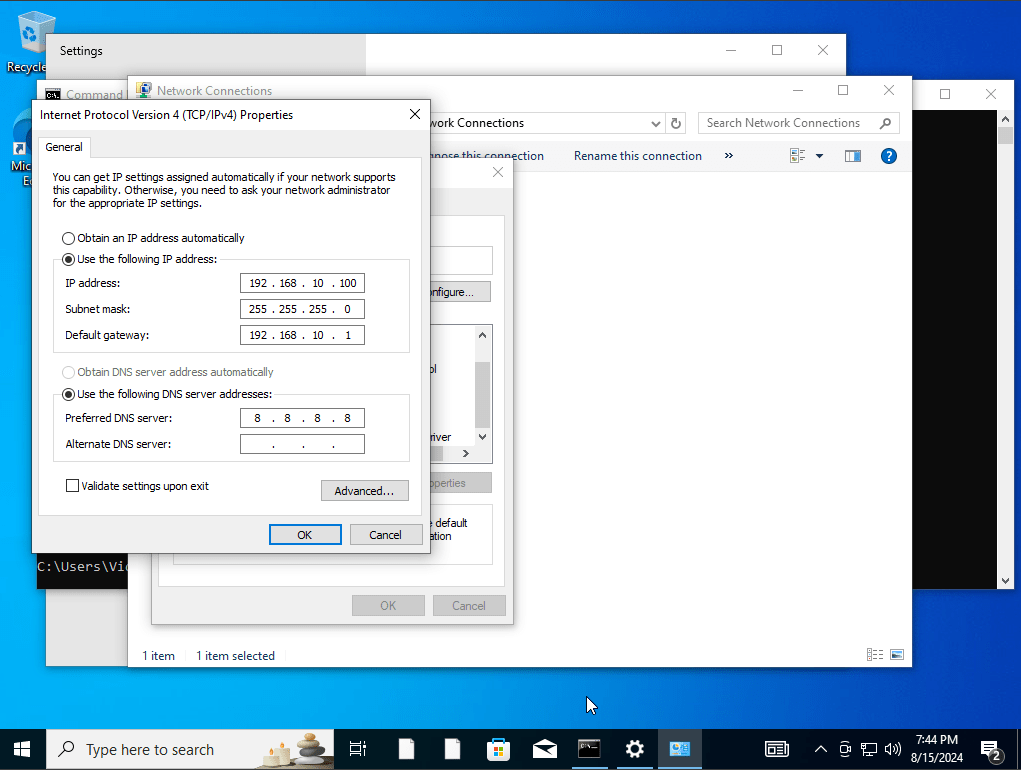
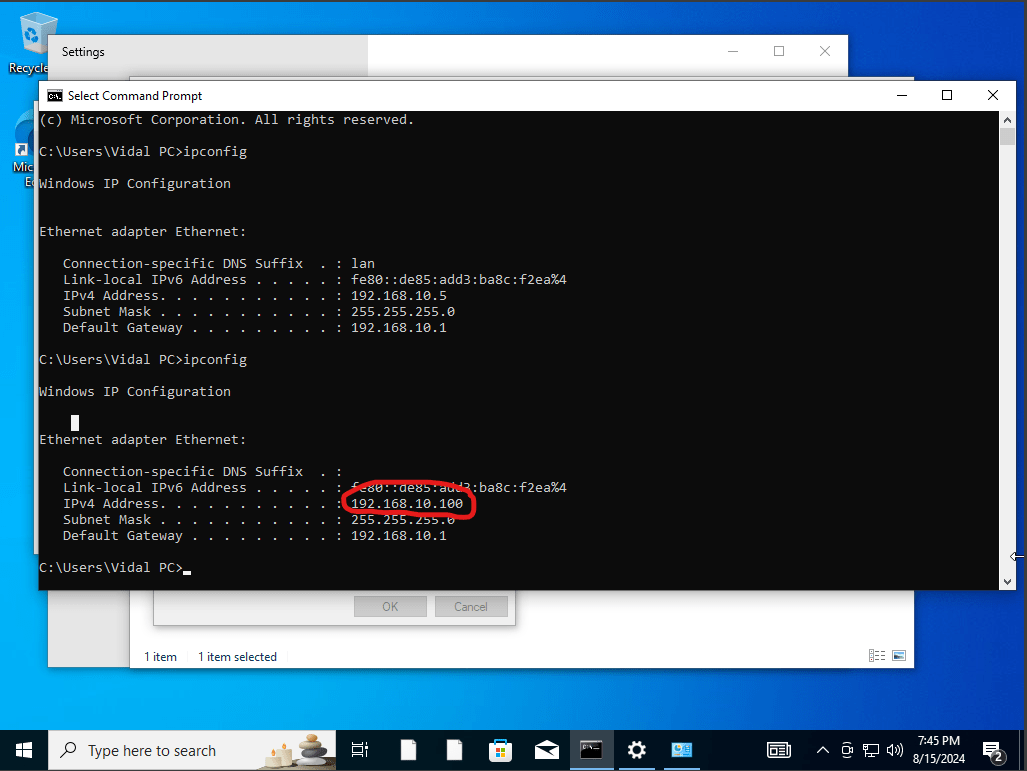
as you can see we have successfully change the ip address of our target machine. Next we will see if we can actually run our splunk server.
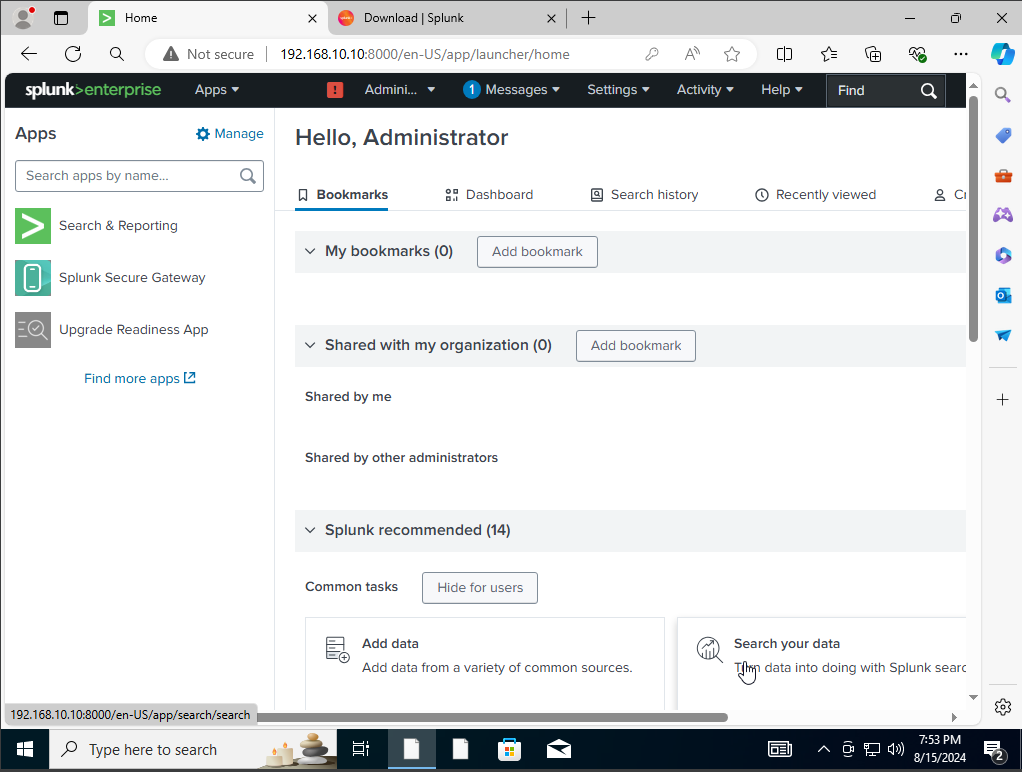
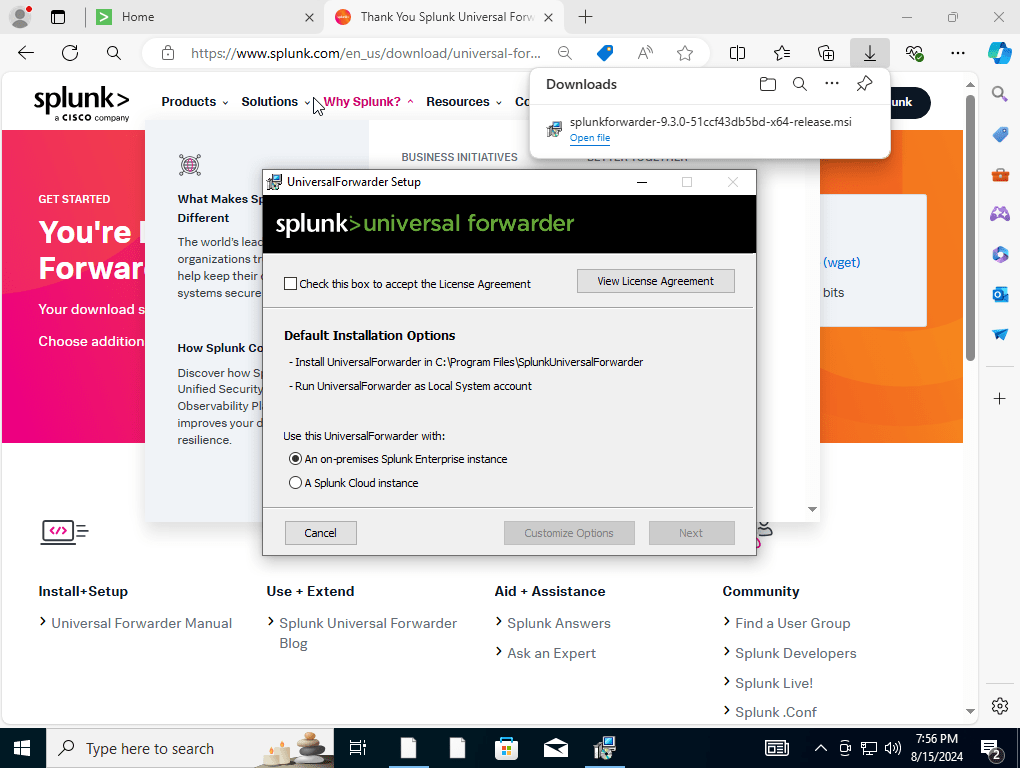
we were able to connect our Splunk server to the Windows 10 machine. Next, we would want to download the Splunk Forwarder into our Windows 10 virtual machine. That being said I will log in to my splunk account head over to downloads and select the universal forwarder.

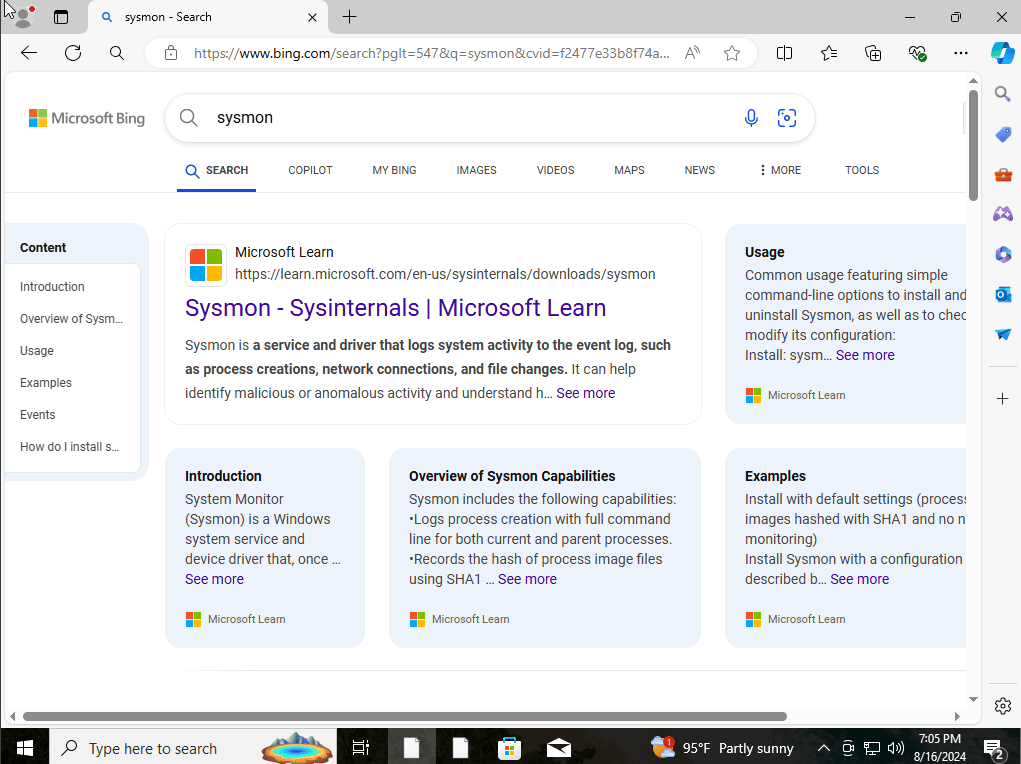
Installing Sysmon
System Monitor, often known as Sysmon, is a device driver and system service for Windows that offers comprehensive information about changes to file creation time, network connections, and process creations. It is a component of the Sysinternals toolkit, which is intended to improve Windows’ default logging and monitoring features.
For security experts, particularly SOC analysts, Sysmon is essential since it makes it possible for them to identify and examine questionable activity on a Windows system.
Sysmon assists in locating potential threats, illegal changes, and security breaches in an environment by offering comprehensive and granular records.
Security teams can create rules and alerts based on the comprehensive data Sysmon provides by using SIEM technologies such as Splunk or Elastic Stack to gather and analyze Sysmon logs.
A cybersecurity professional’s toolbox should include Sysmon, especially for those working in threat hunting, incident response, and monitoring.
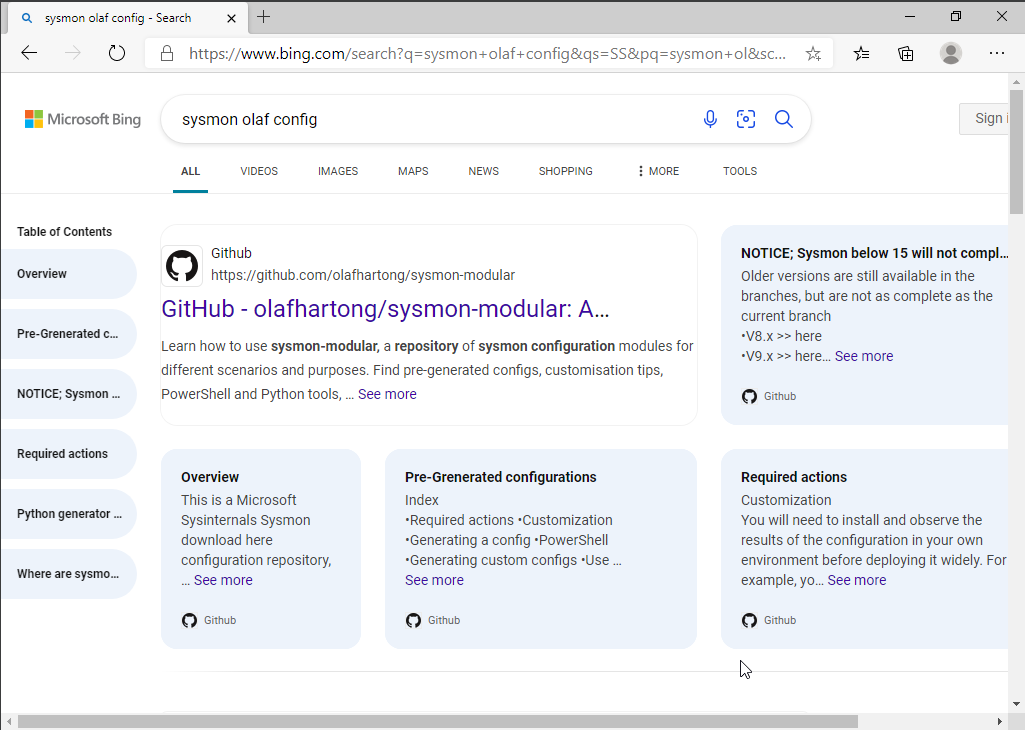
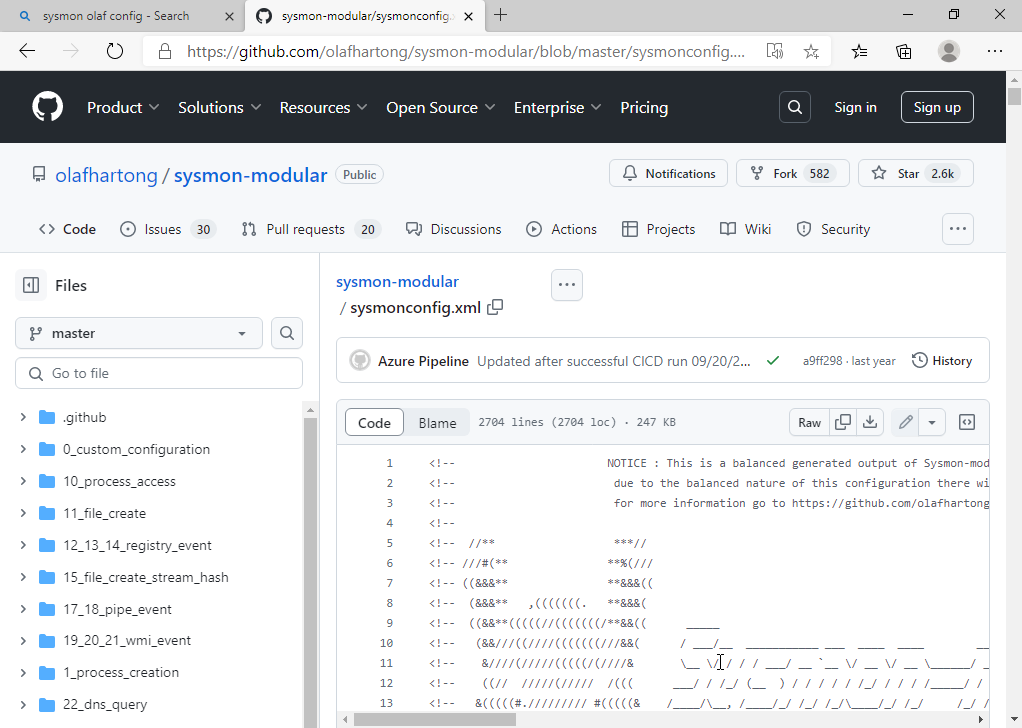
For this sysmon work, we will be downloading olaf config file.
Through the provision of thorough and pertinent logs and the reduction of noise and false positives, this configuration aims to maximize Sysmon’s logging capabilities and increase its efficacy for threat detection and monitoring.
I would go ahead and download the xml file on github by clicking on its raw contents within its repository, and saving it. onto our downloads folder.
Next we would want to do download and run sysmon, we first start by running powershell, and hit the sysmon app
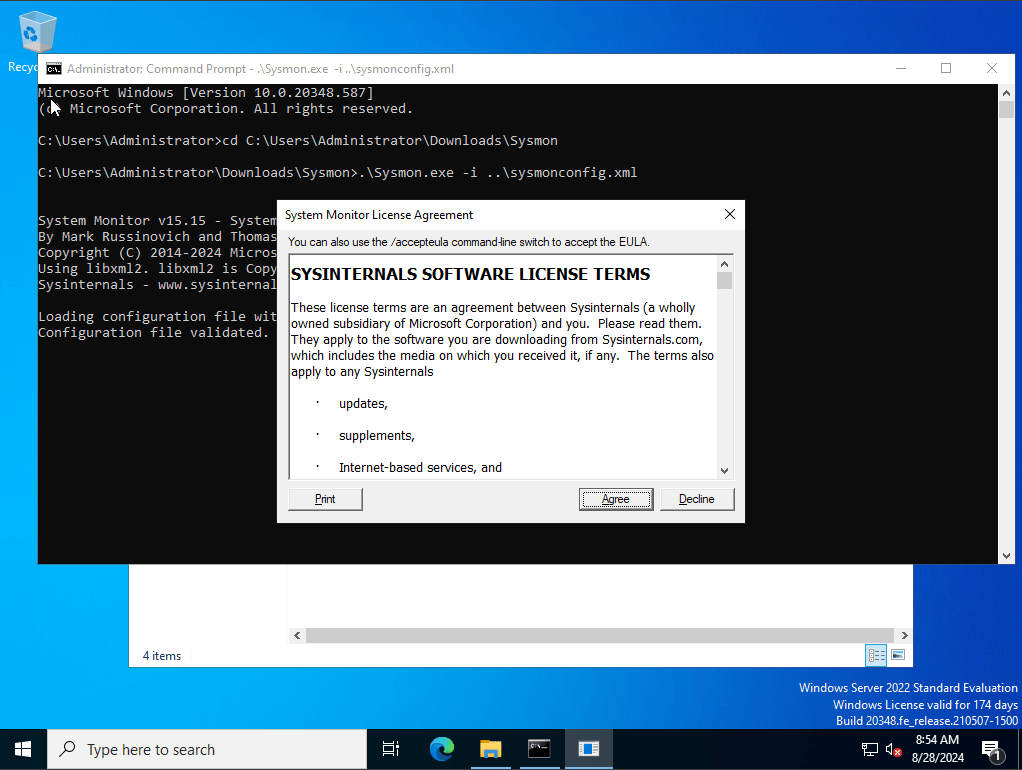
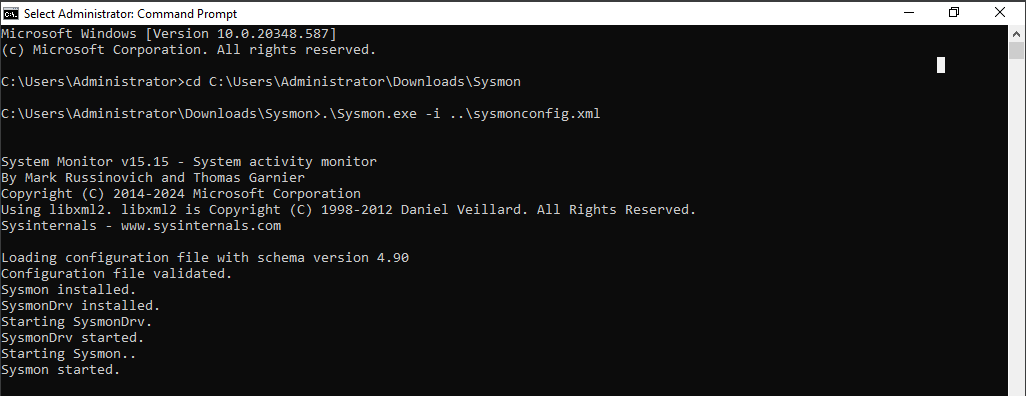
With Sysmon successfully installed along with our sysmonconfig.xml file we downloaded, Next we would want our splunk forward to be able to send the data we specifically want it to send. To do that we must configure a file known as inputs.conf
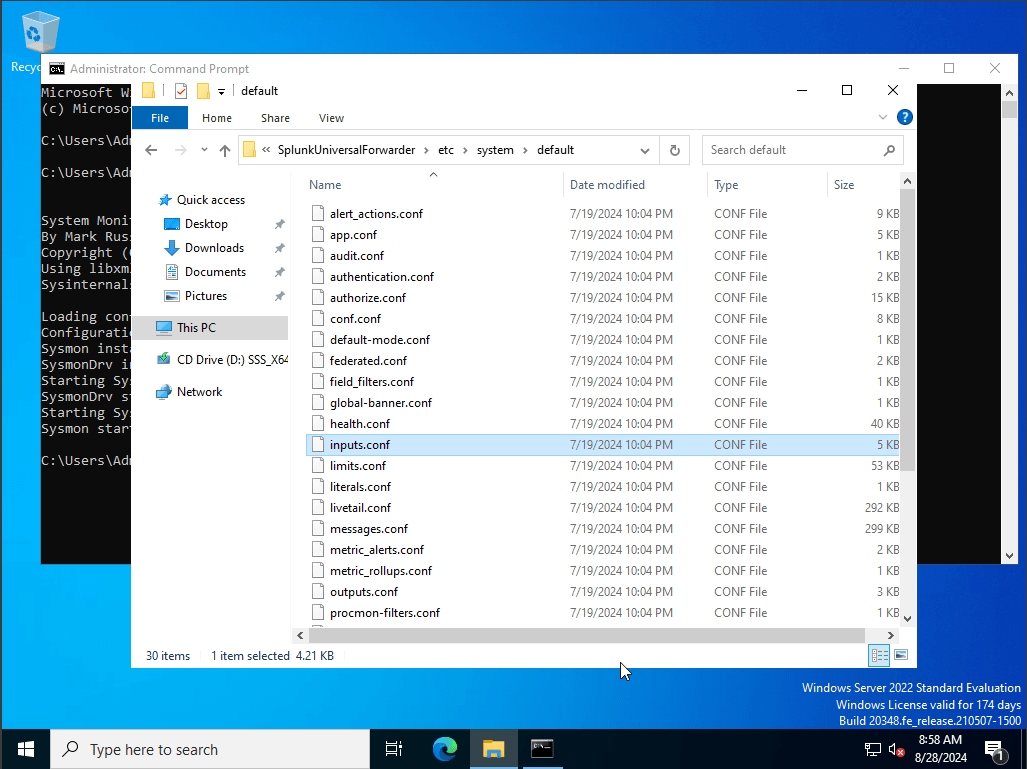
While we aren’t able to make any changes to it due to not having administrator privileges, instead we are going to create our own inputs.conf file, under the local directory. to do this we will be running notepad as administrator, and maually create our own input file.
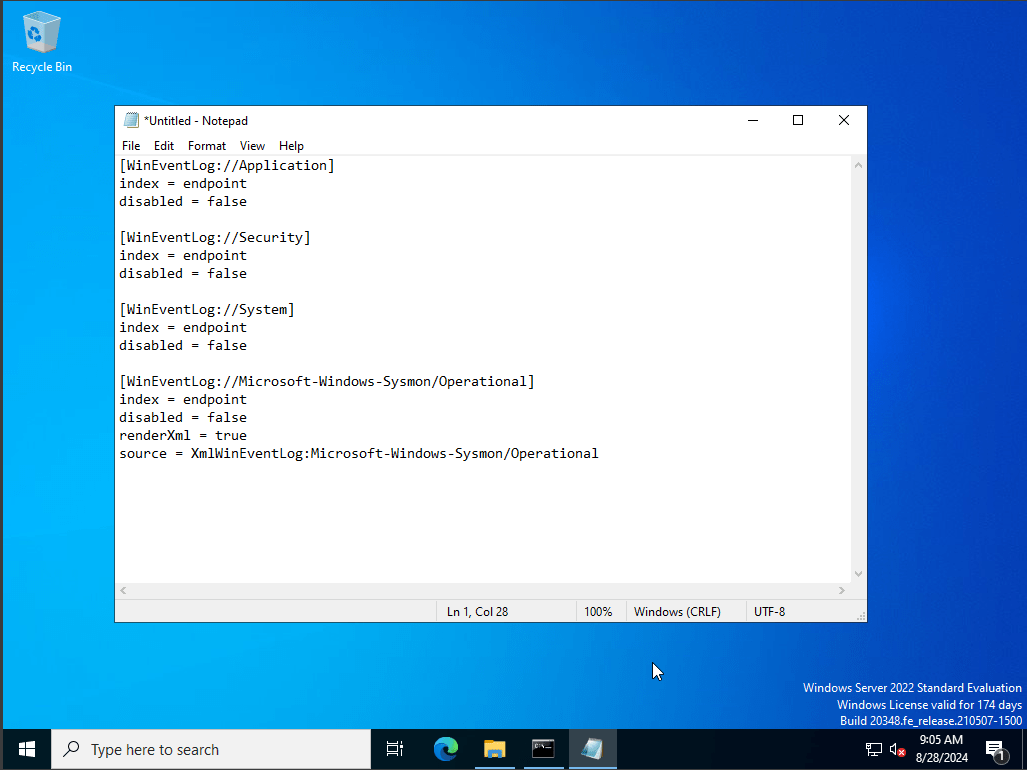
I’ve configured the new inputs file, into the following, this would instruct our splunk forwarder to push events related to Application, Security, System, as well as Sysmon. With our Index being named endpoint. this is important to know as per each and every event that are related to these categories will be shown in our Splunk forwarder with the index we label as “endpoint”.
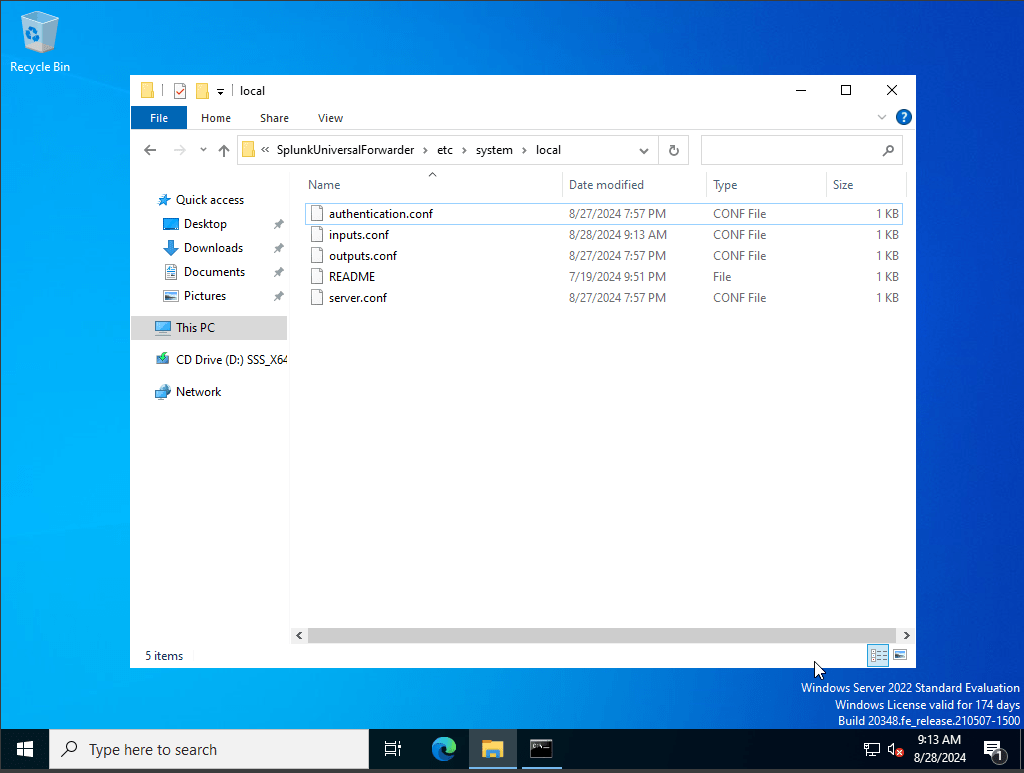
we have successfully installed and updated our new inputs.conf file, it is important to know that every time we upload or make any changes to our inputs file we must restart splunk universal forwarder services. To do this we will head over to services and run as administrator, find SplunkForwader and right click and hit restart.
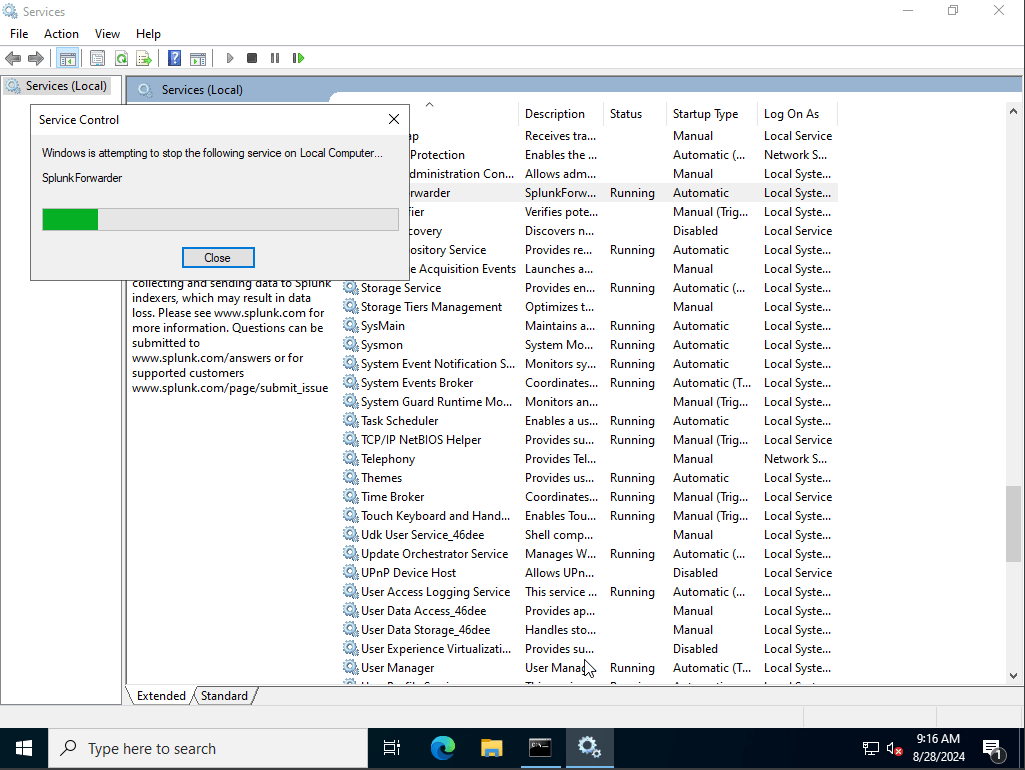
Now after updating and restarting splunk services we are now able to utilize and run splunk successfully
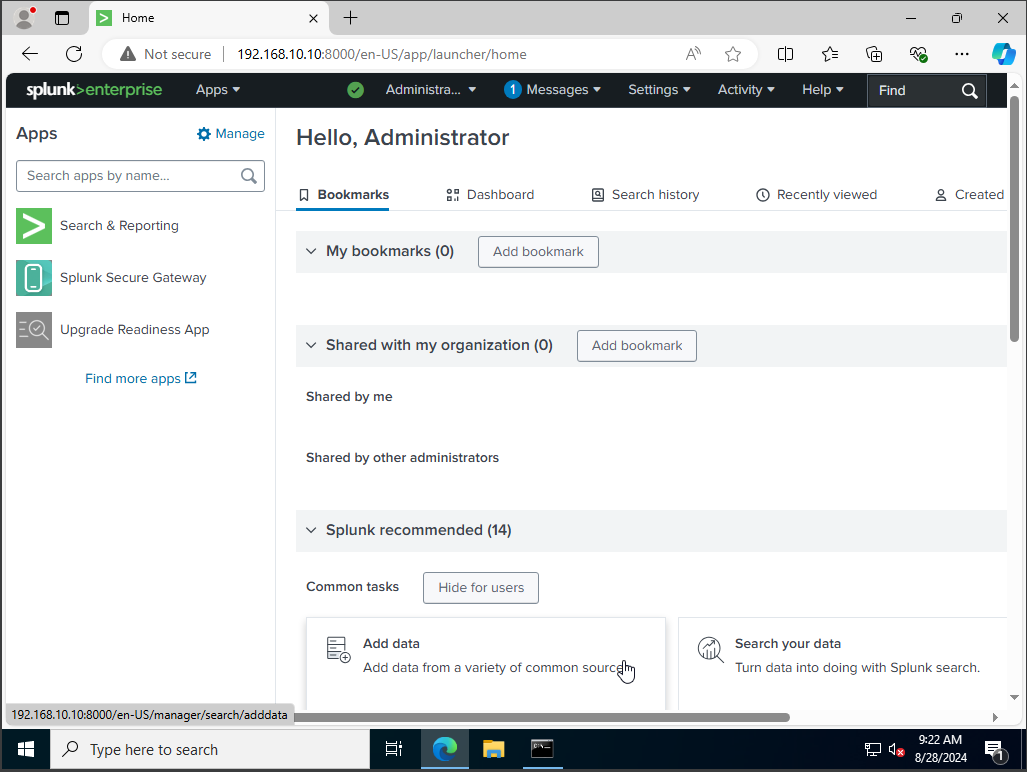
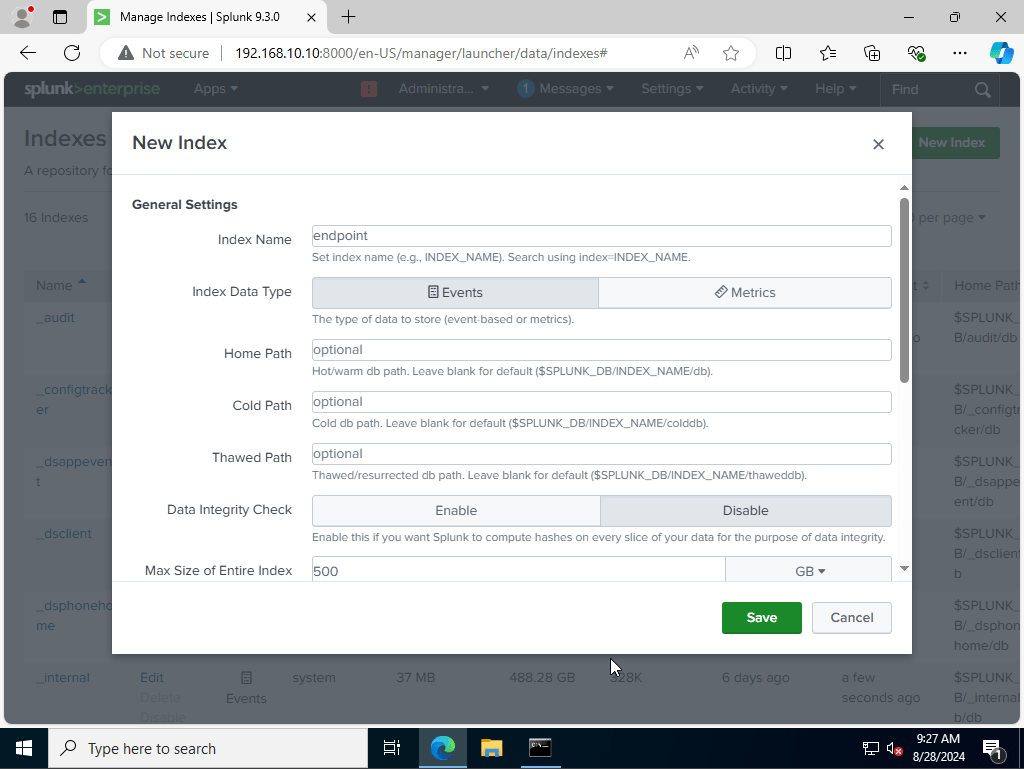
We would want to click on settings, on the tab up top, from their we would want to click on indexes. from there we would want to click on new index and create a new one called endpoint.
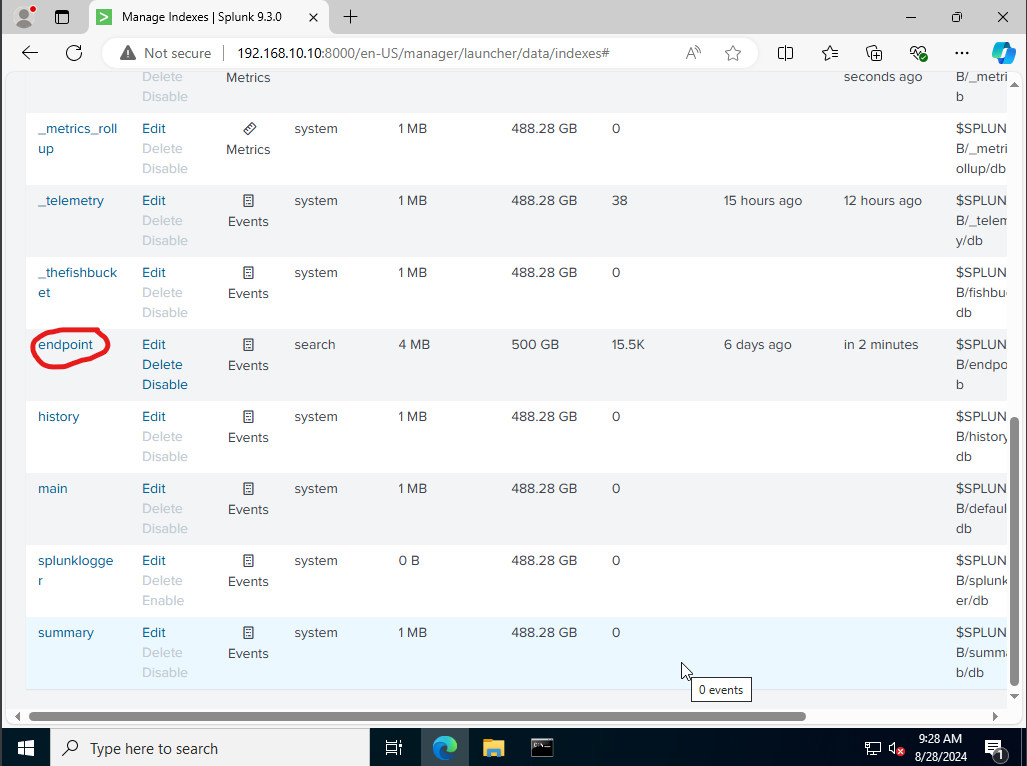
As you can see there is a new created index called endpoint. Now we want to make sure our Splunk server is enabled in order to receive the data. In order to do that we click on settings again, this time we will click on forwarding and receiving.
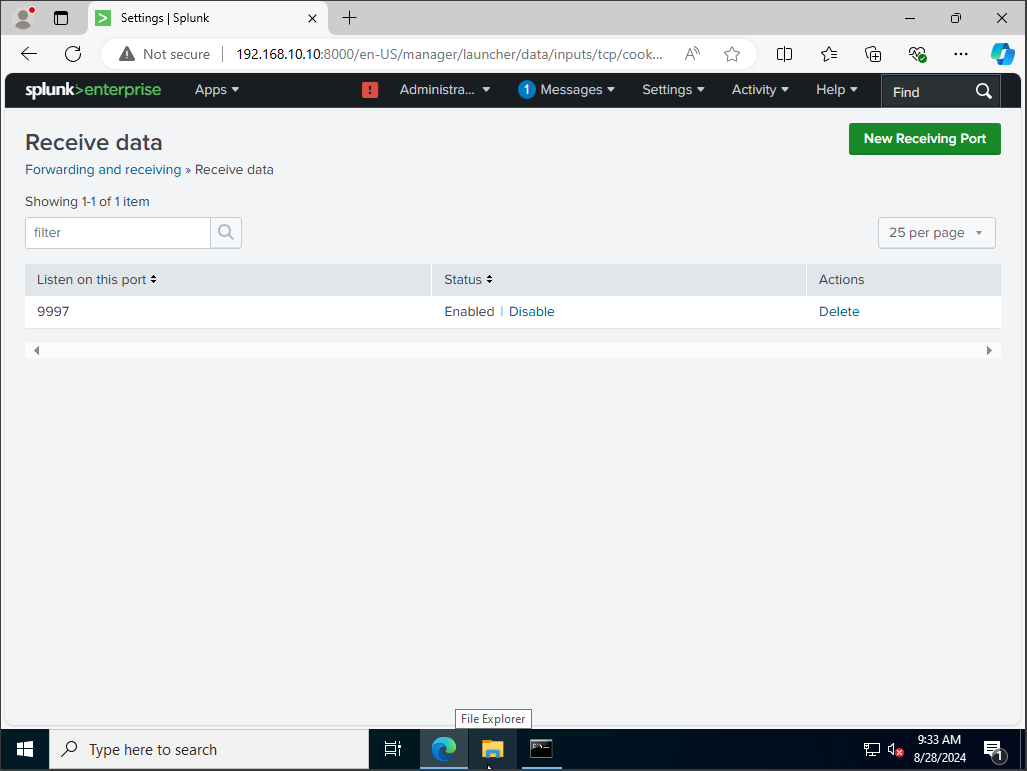
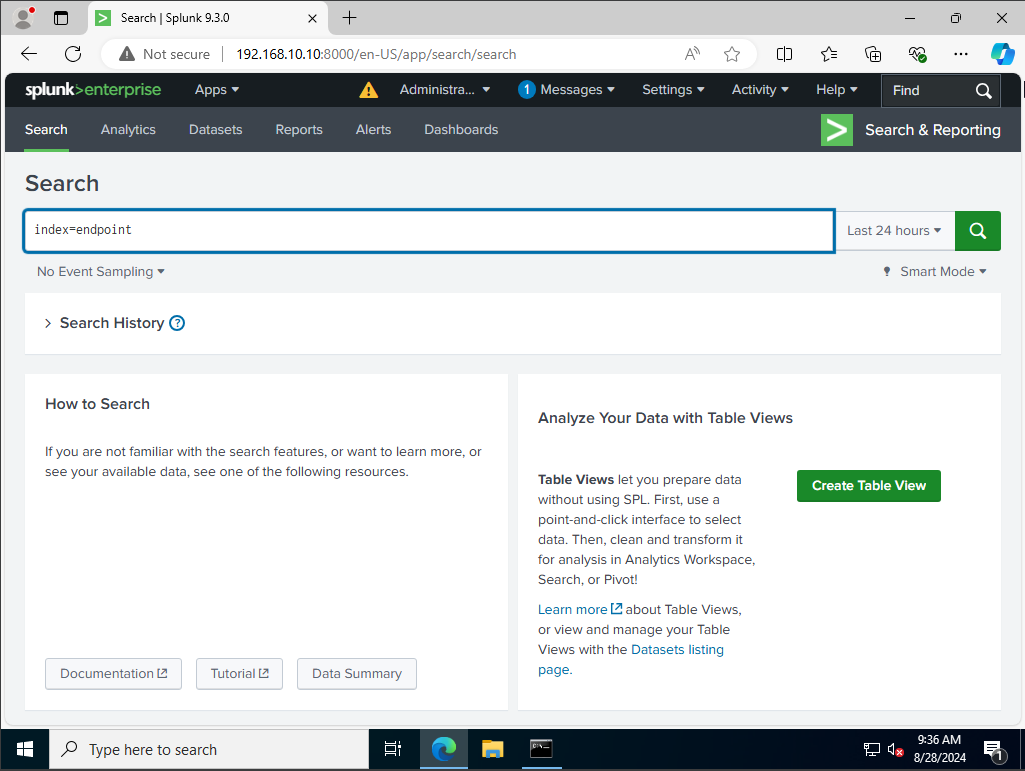
we will listen on port 9997 as our receiving port. After that is setup we should see the data adding up onto our server. to look we would click on apps on the top right corner hit search and reporting, from their we would type on the search bar the following, “index = endpoint” to indicate the categories in our input.conf file
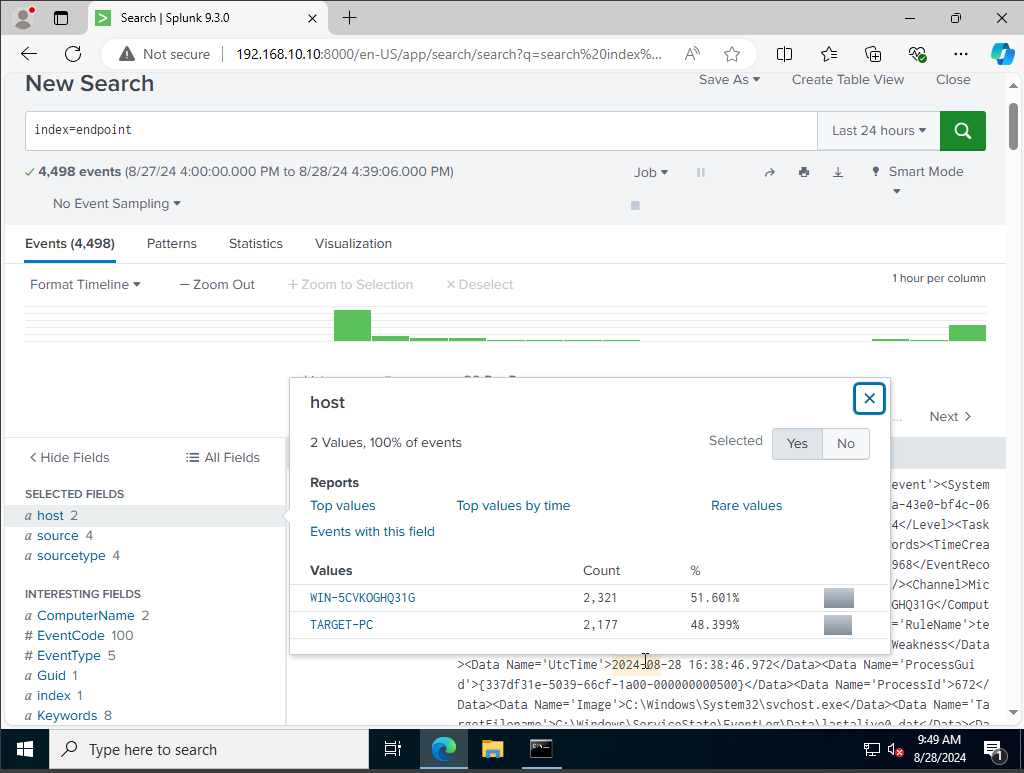
as you can see we do have some events along with two host, one for our target machine, and the other from our windows server 2022 where we installed Sysmon, and Splunk Forwarder
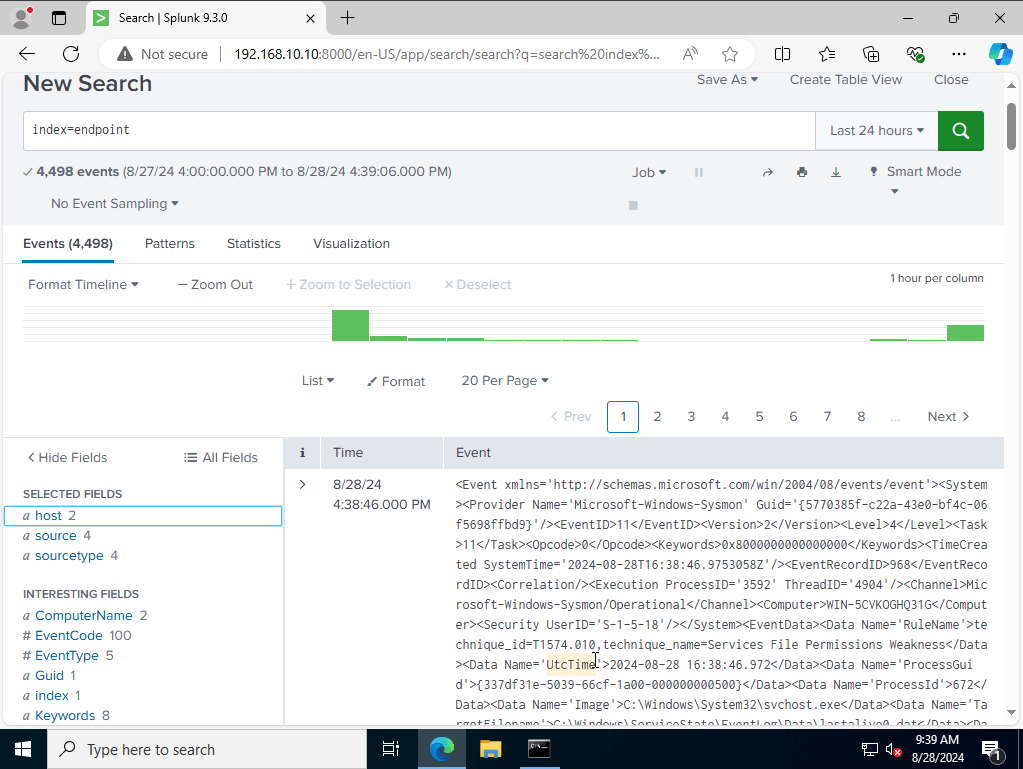
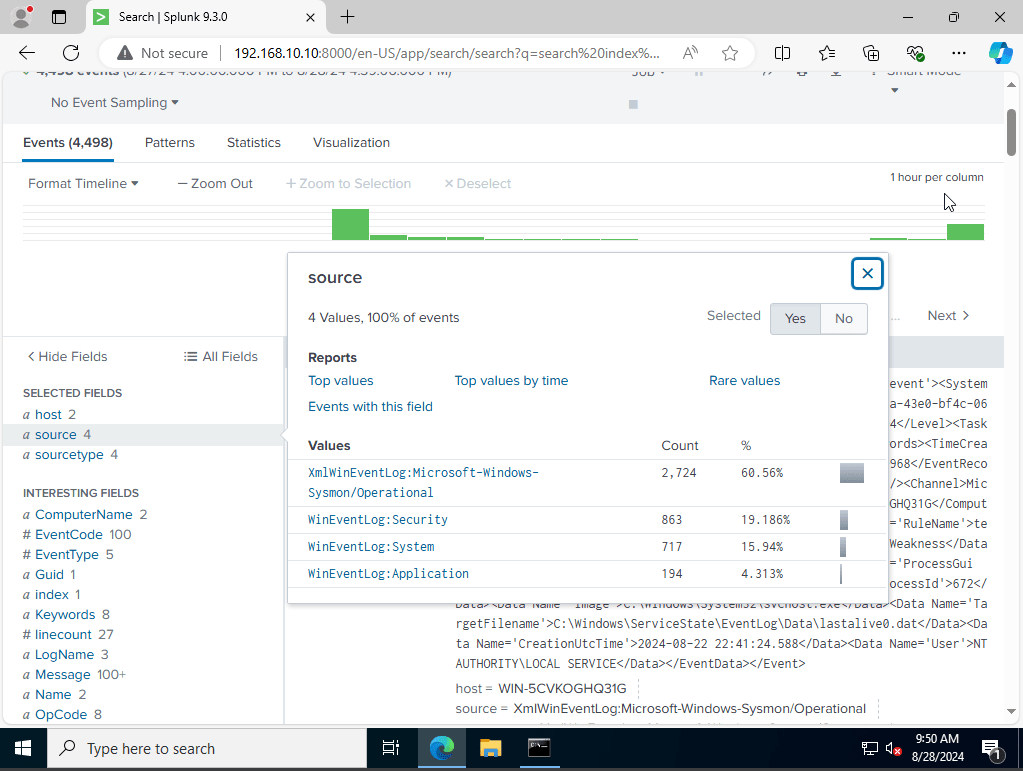
As for our source type you can see it aligns to what our input files categories.
We have successfully installed sysmon, and splunk forwader onto both of our machines.
Task 4: Configure Active Directory
We are going to install and configure the active directory on our server. We will then promote its access into a domain controller. Once that is all setup we will then configure our Target Machine to join the Domain.
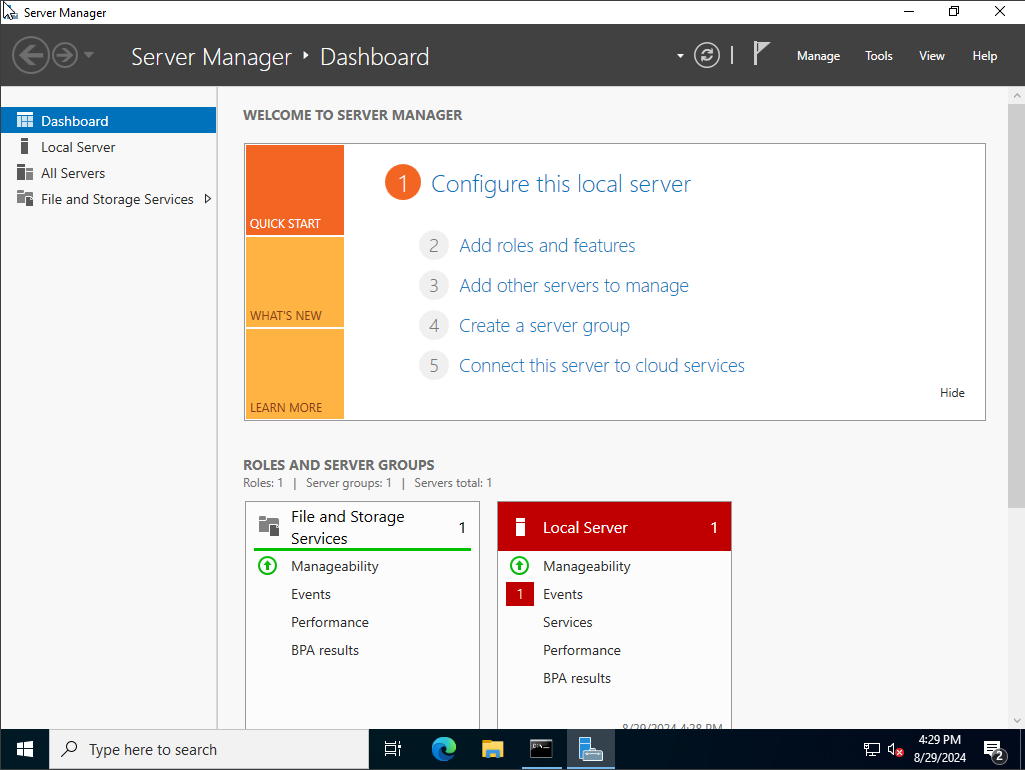
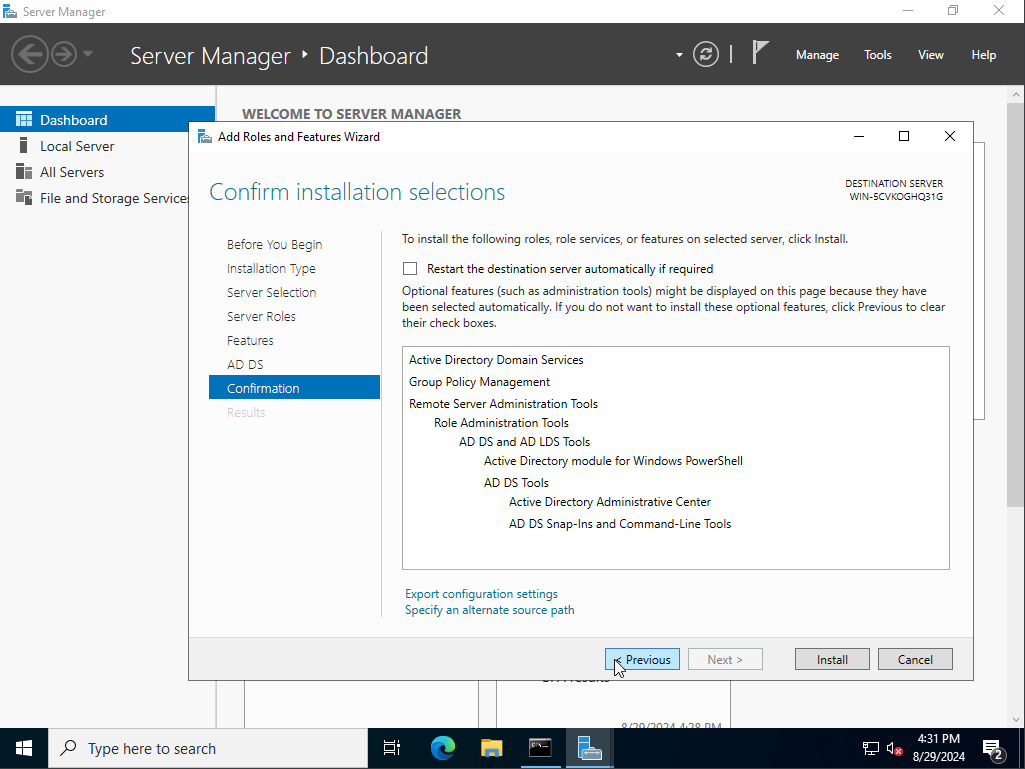
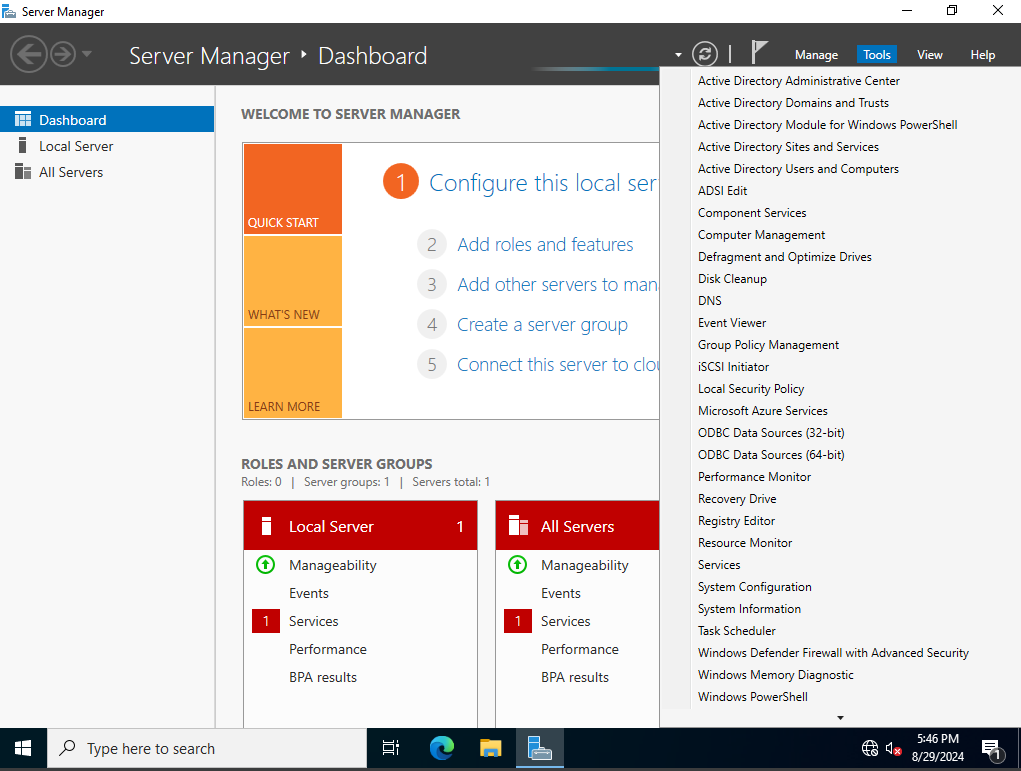
I begin by opening server manager, and click on the Manage tab and select add roles and features. From there I would select and highlight Role-based or feature based installation. As for server roles I went on and selected the Active Directory Certificate services Role after that I would click on install.
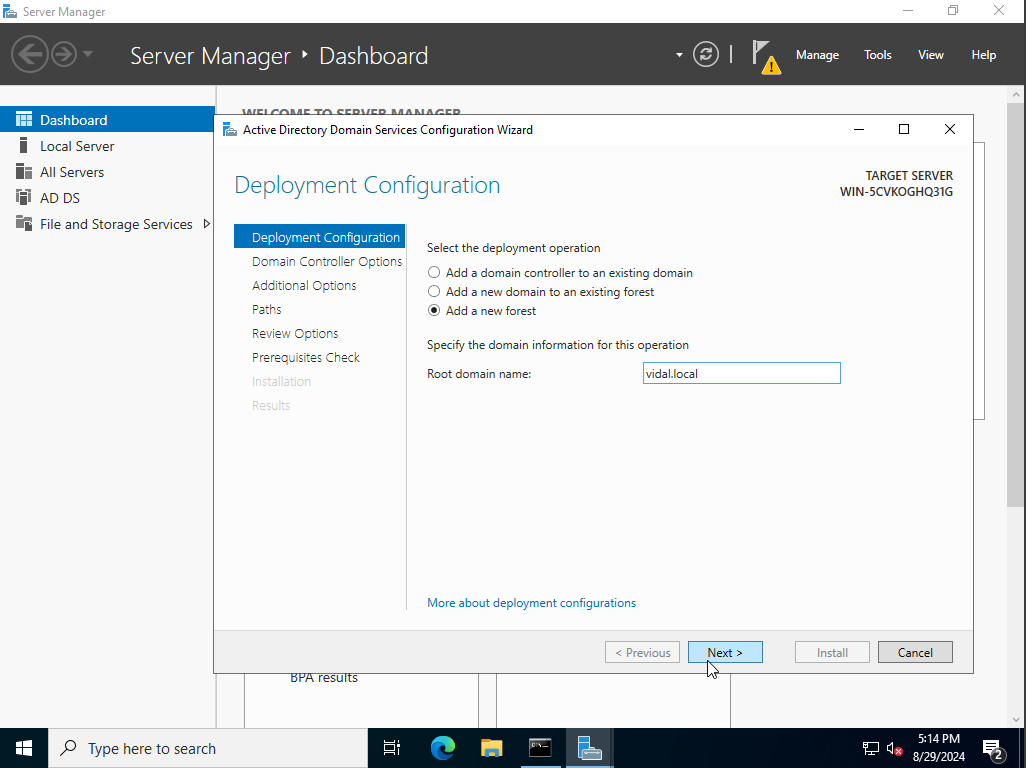
once the download installation is complete I would click on the flag icon with a yellow yield sign and click on promote the server to this domain controller, from there I would then select the option add a new forest. This is because we are adding a new domain. with the domain name being vidal.local.
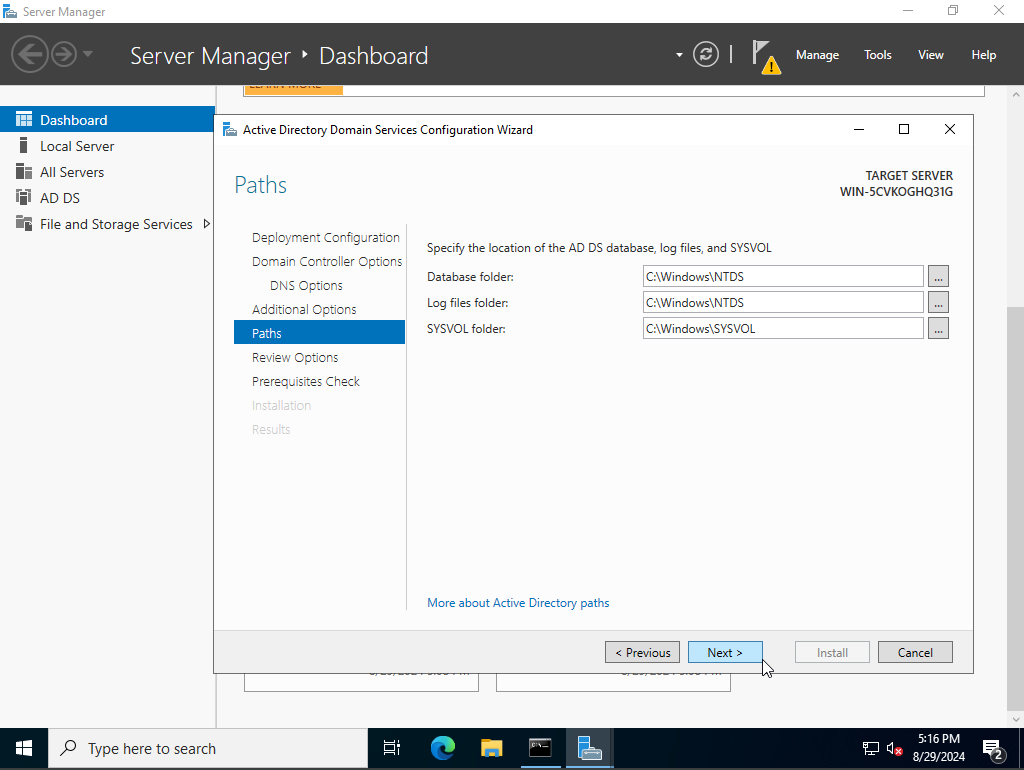
here we are at the path configuration section, this is important to note since these will be the paths to store our database. one thing to note is that hackers initially gain access to these paths for unethical purpose like stealing sensitive information from a domain controller especially.
I would then double check my configuration then select install once installed it would then prompt my server to reboot to initiate the settings.

upon logging you would notice a backslash in front of our login name, which means our installation was successful with ADDS along with promoting our server to a domain controller. Our next step is to create some users.
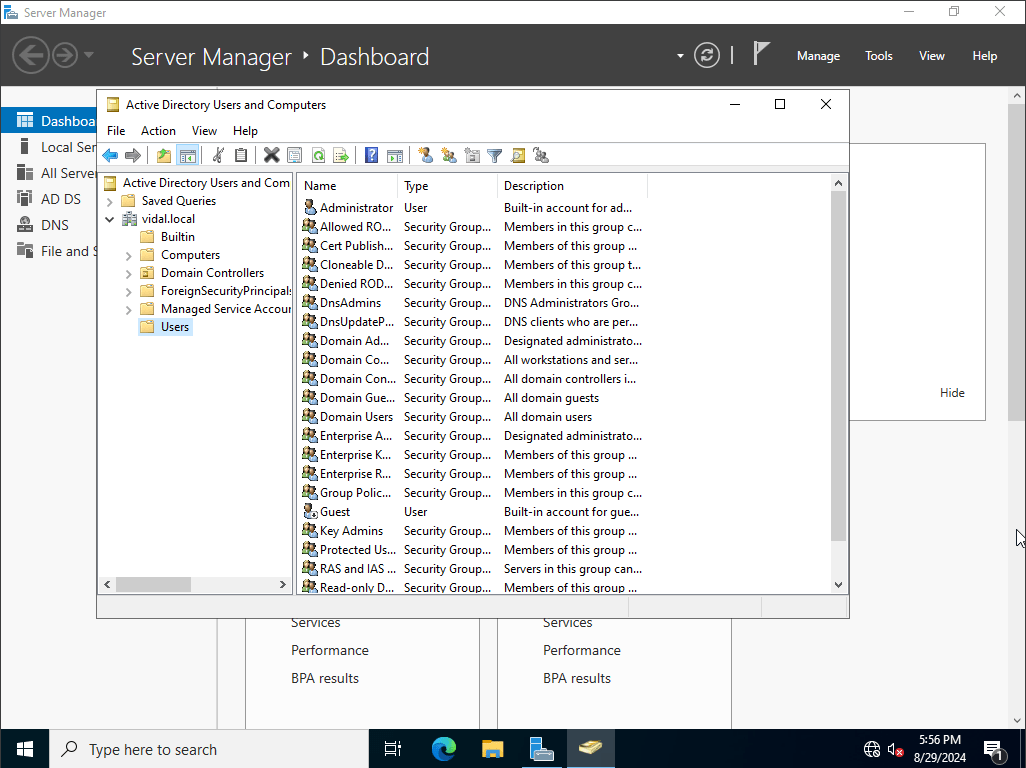
to add users we would select the tools tab and click on active Directory Users and Computer option.

as you can see based by the file diectory on the builtin folder you can see that there are groups but these are default ones by active directory. Same can be said within the Users folder plenty of default users.
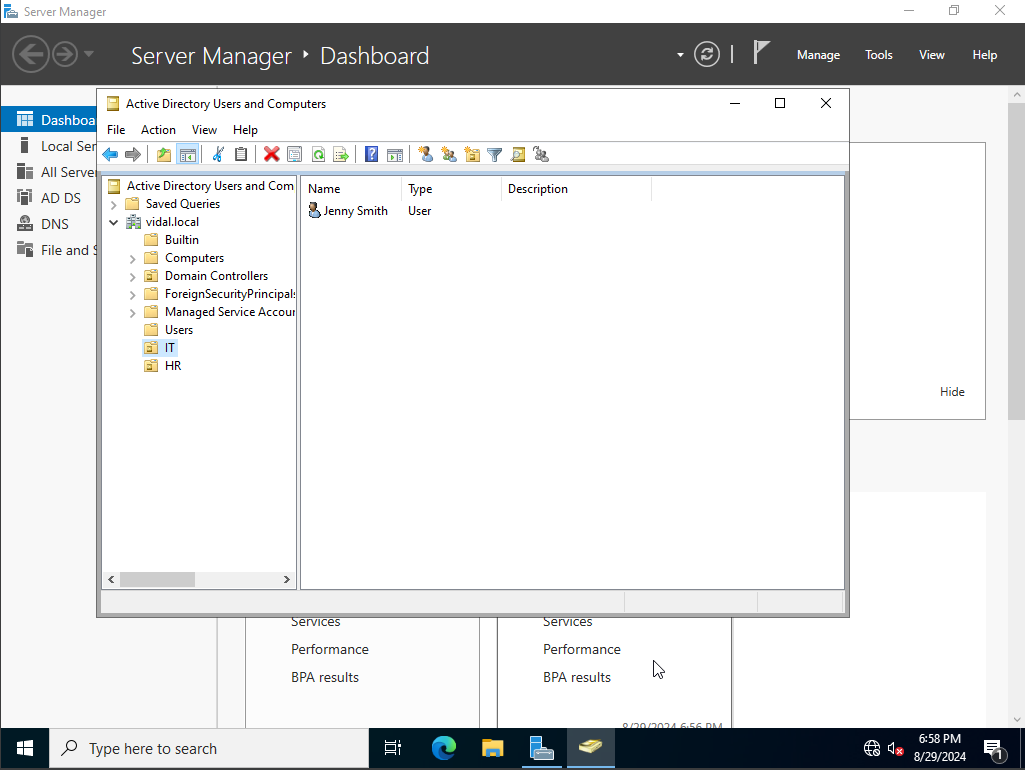
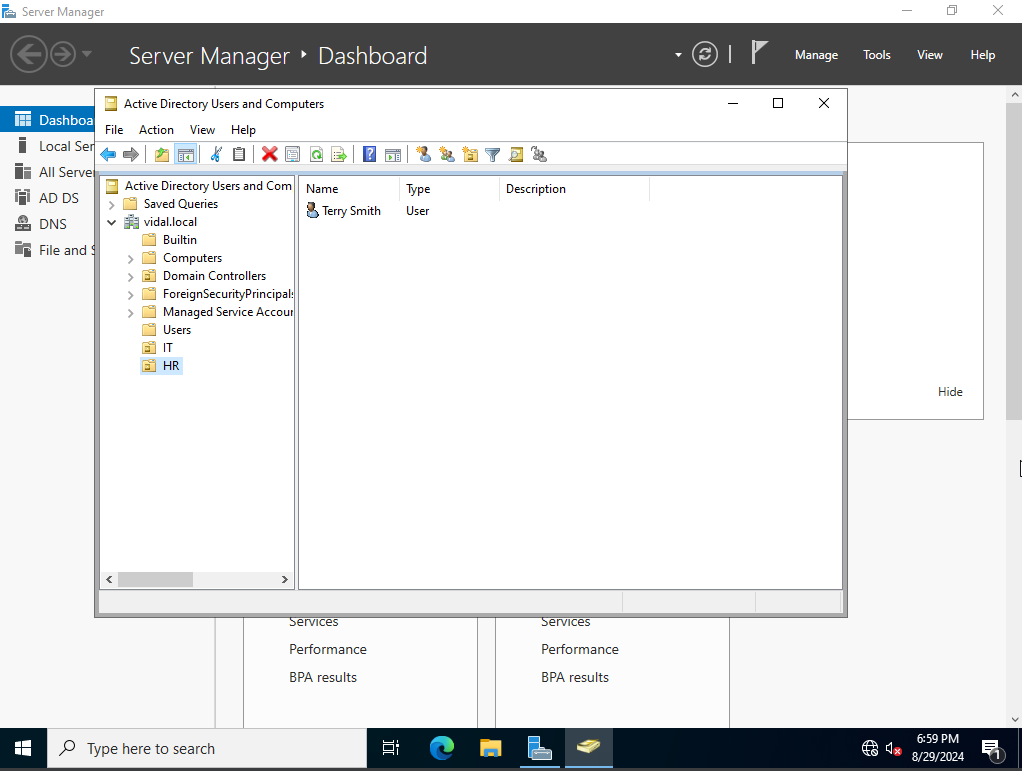
For this project we are able to layout our own set of Users and Groups, for real world experience. What I mean by that is that some companies have there’s layout set like HR, IT, Sales also known as organizational units. We can also create our own organizational units, to do that we right click our domain, and select create a new organizational unit for this example we would call it both HR and IT, along with these both units we would create one user for each.
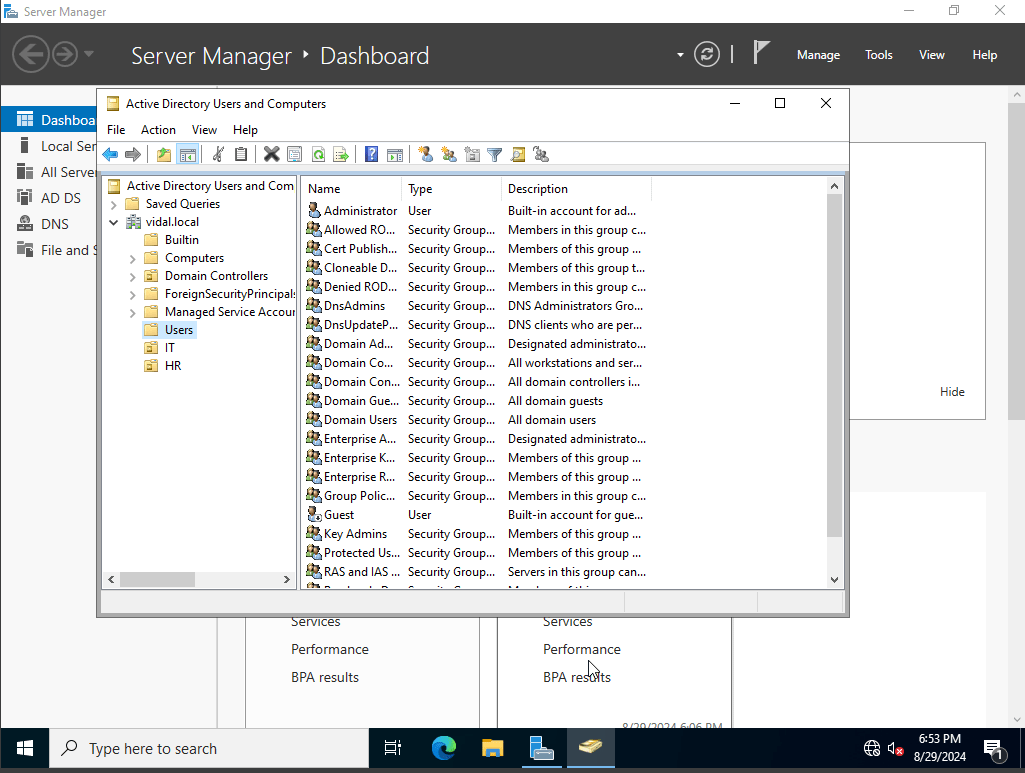
for HR we will create a user by the name Jenny Smith, and for IT Terry Smith.
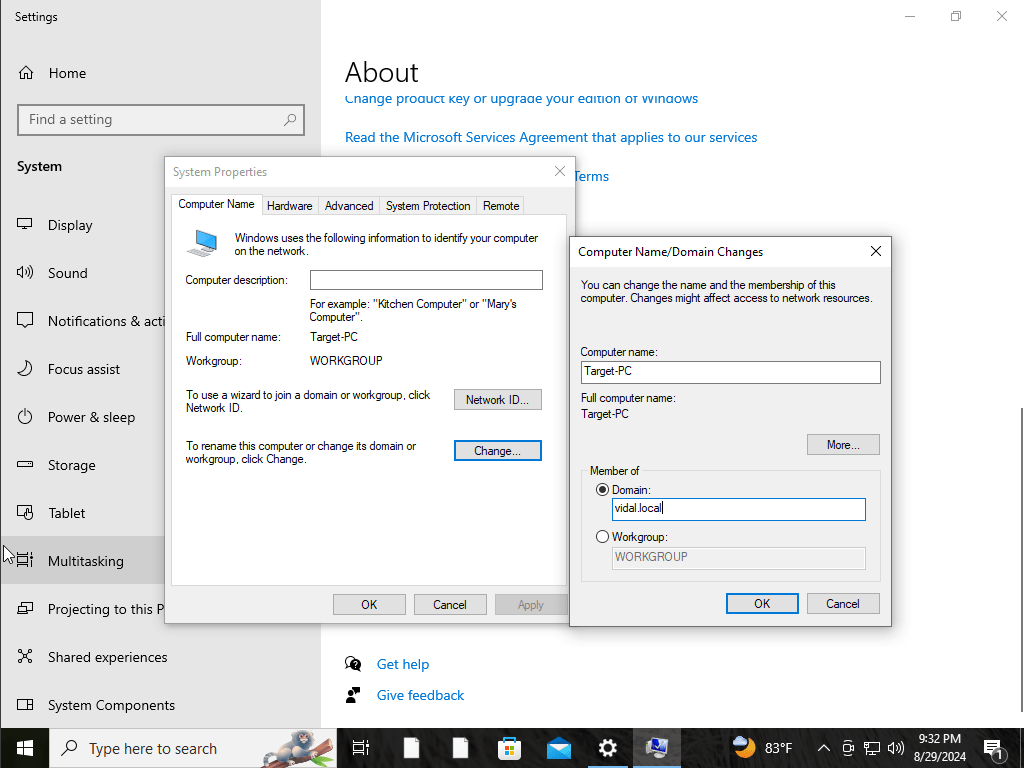
next I would then head on over to my target windows 10 machine and join it to our newly created domain which I’ve named vidal.local. while also authenticating into jenny’s account that we just created. To do this we will head on onto my PC settings and click on properties from there we will scroll to where it says advanced system settings.
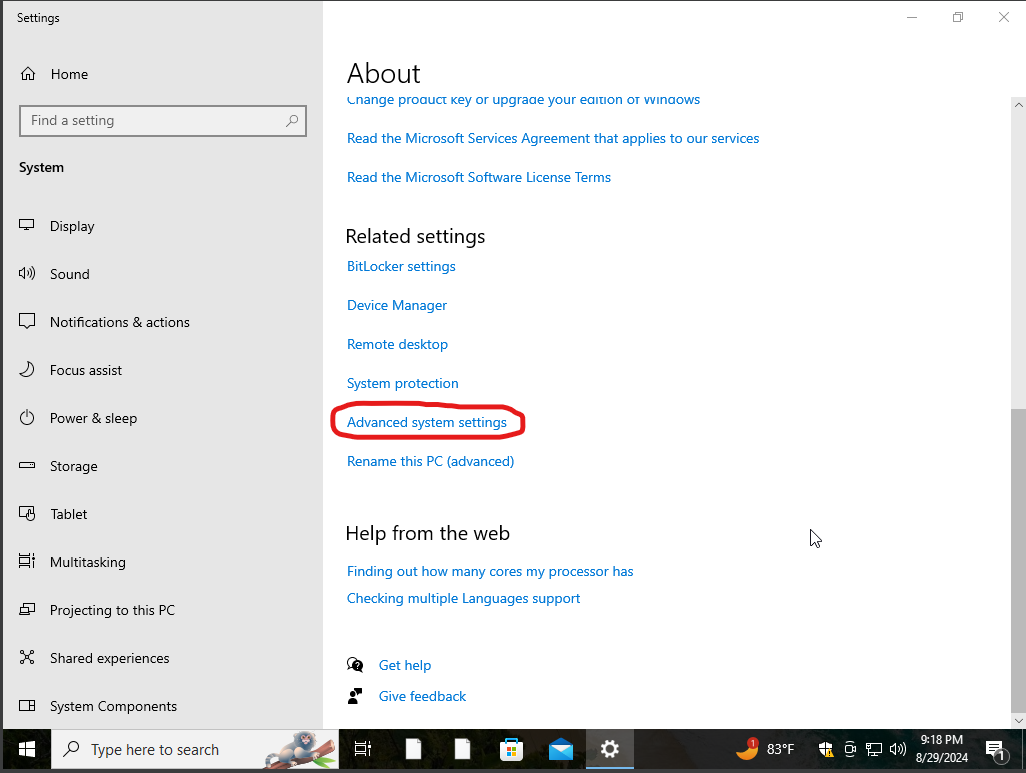
from there we would click on the computer name tab and click on change where we would put the computer name which I have named previously vidal.local